Brian is a musical instrument maker and has developed a range of entirely hand-crafted and skilfully made harps suitable for beginners or professional musicians and everyone in-between.
Tonight, Brian is taking a break from instrument making and is treating us to a box building and woodworking machines demo.
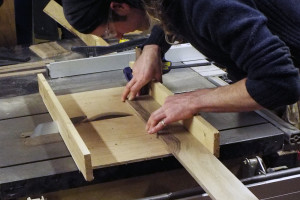
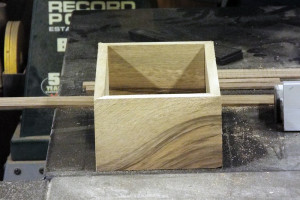
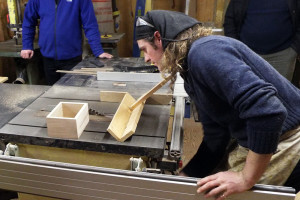
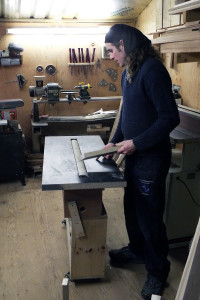
How to build a box: Brian selected a 1m. length of beautifully figured Black Walnut, about 100mm wide by 12mm thick. With the blade of the Bench Saw set at 45º and a sliding cross-cut sled, set-up to cut the 4 pieces, aided by a stop block, which may be clamped to 2 marked positions, 200mm & 125 mm, which will give a shape close to the Golden Rectangle! This killed 4 birds with 1 stone, it ensured that both opposite sides of the box are exactly the same length, that all 4 corners are at 90º, that perfect joints are formed and with minimum waste, adjacent sides are matched.
I read somewhere that Routers are noisy, rowdy and have a mind of their own unless you keep them under tight control. The answer to this is to turn the Router upside down, let the cutter protrude through a large baseplate, and hey presto we have a Router Table! Straight away it’s less deafening and, you can see what’s going on!
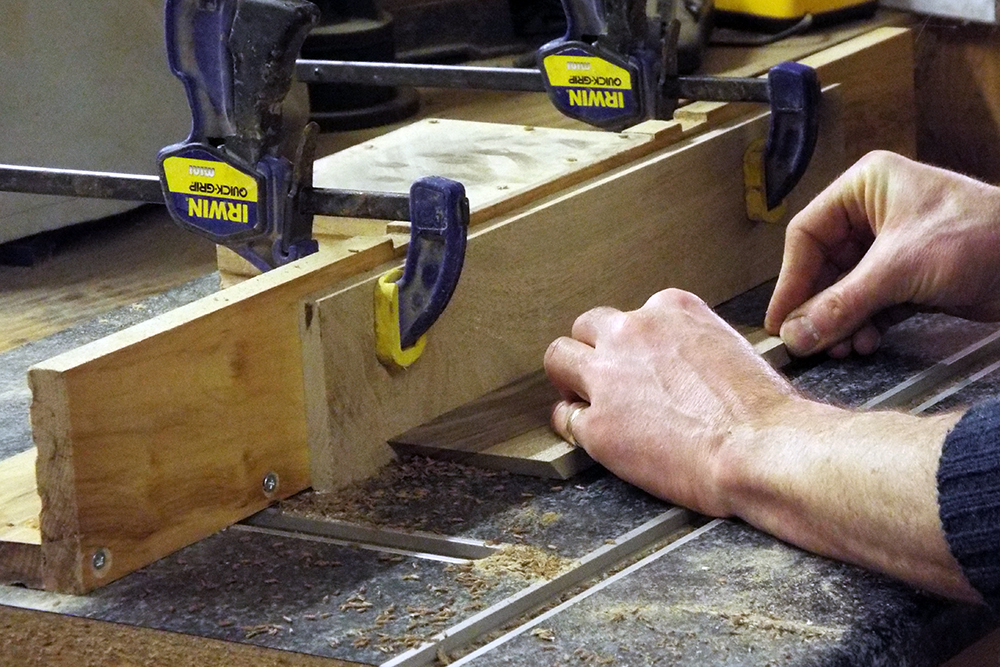
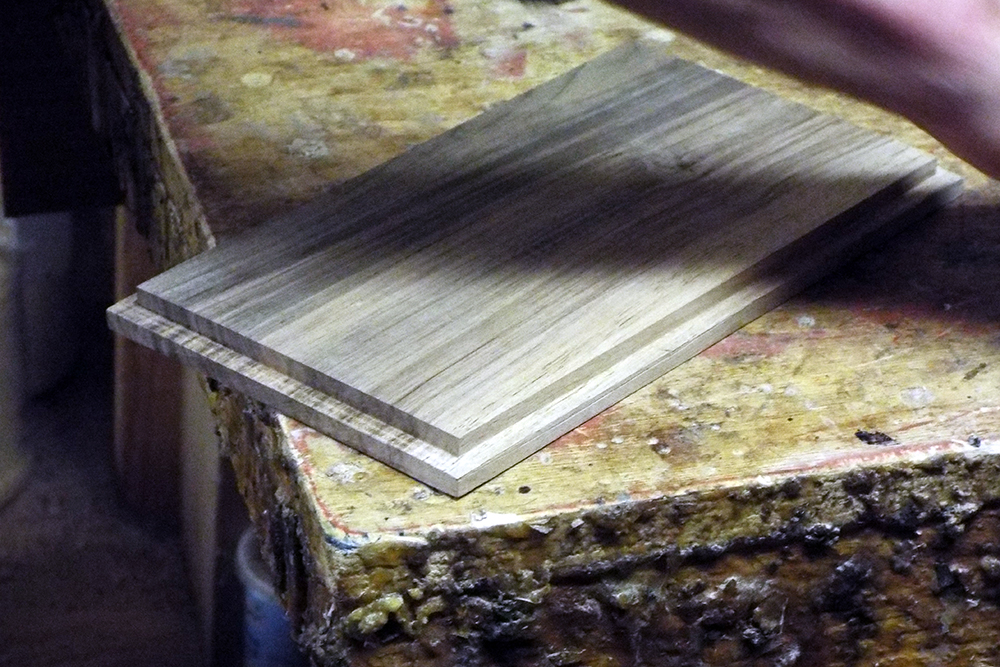
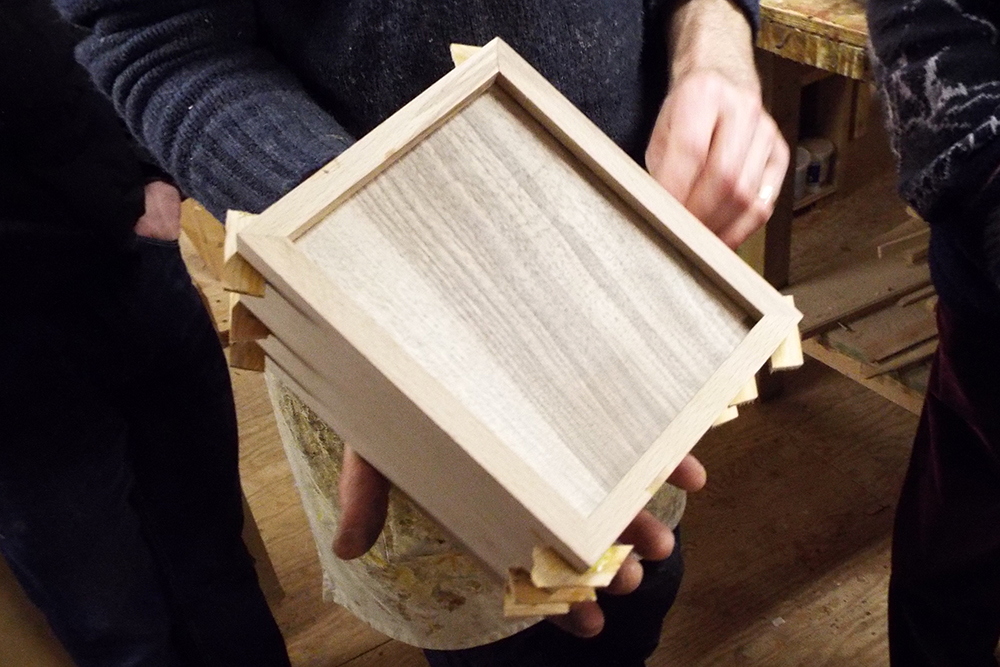
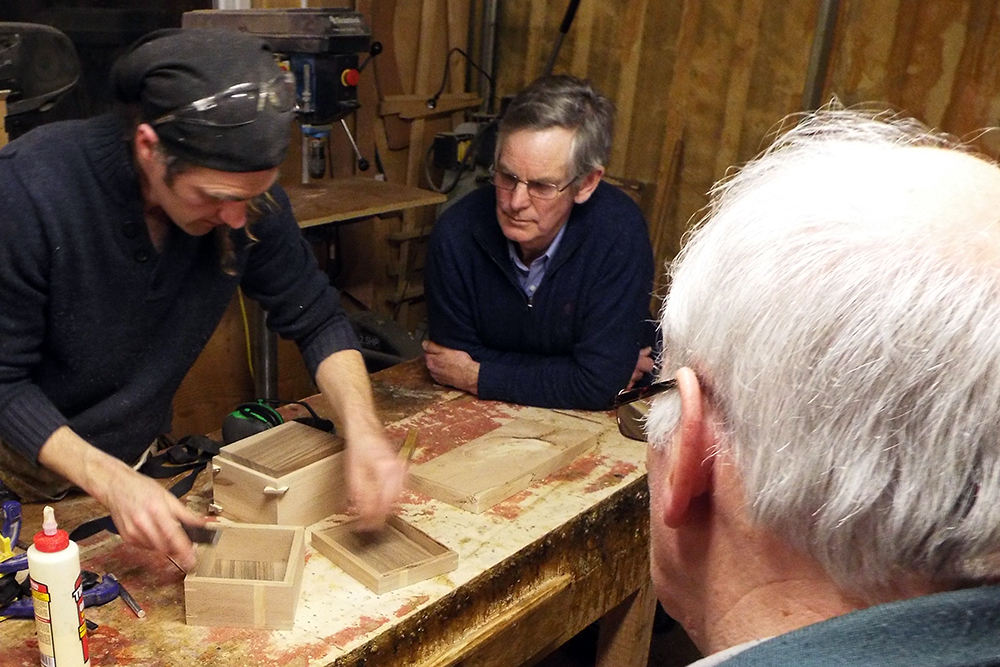
The cutter on the Router Table is already set to cut a groove (here’s some woodworking techno stuff: if this groove is in line with the grain it’s called a Rabbet, but if it’s cut across the grain it’s called a Dado!) in all 4 pieces to accommodate the base of the box. The base is cut and moulded similar to a panel in a panelled door and when fitted will be ‘floating’ i.e. no glue is used and the base is free to move with atmospheric conditions. After a dry fit, glue is applied to the corners and a 4-jaw adjustable strap framing clamp is attached low down and tightens up the lot. Then clamps are applied towards the top, squeezing out any excess glue. Brian said, when applying glue try to avoid smaddering the inside corners, but if you do he has a neat trick up his sleeve, he used a drinking straw and the principle of capillary action to suck up any surplus glue. Very clever!
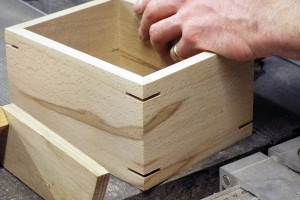
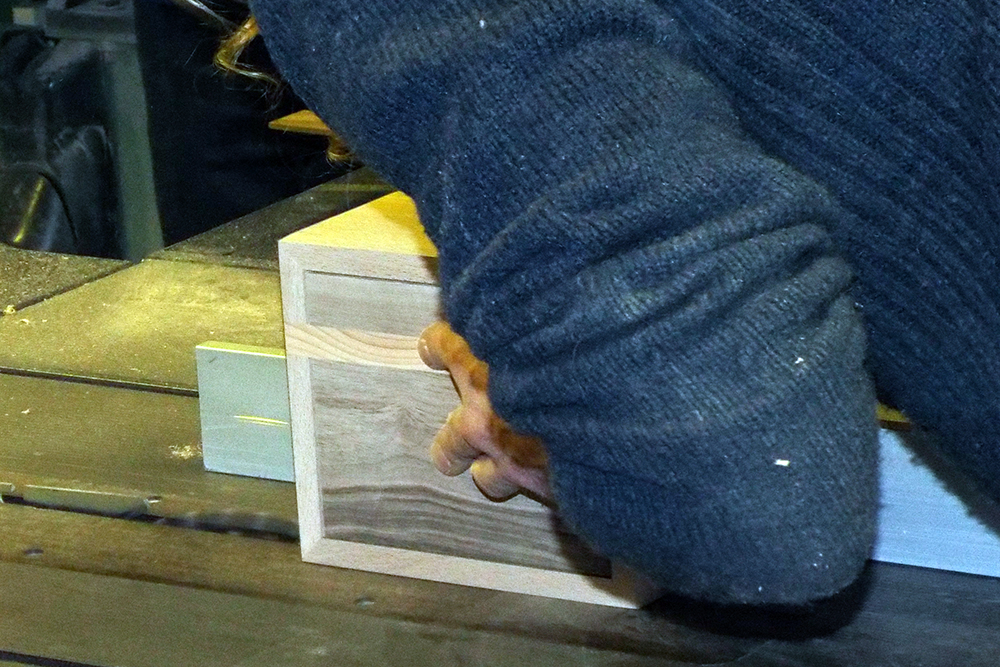
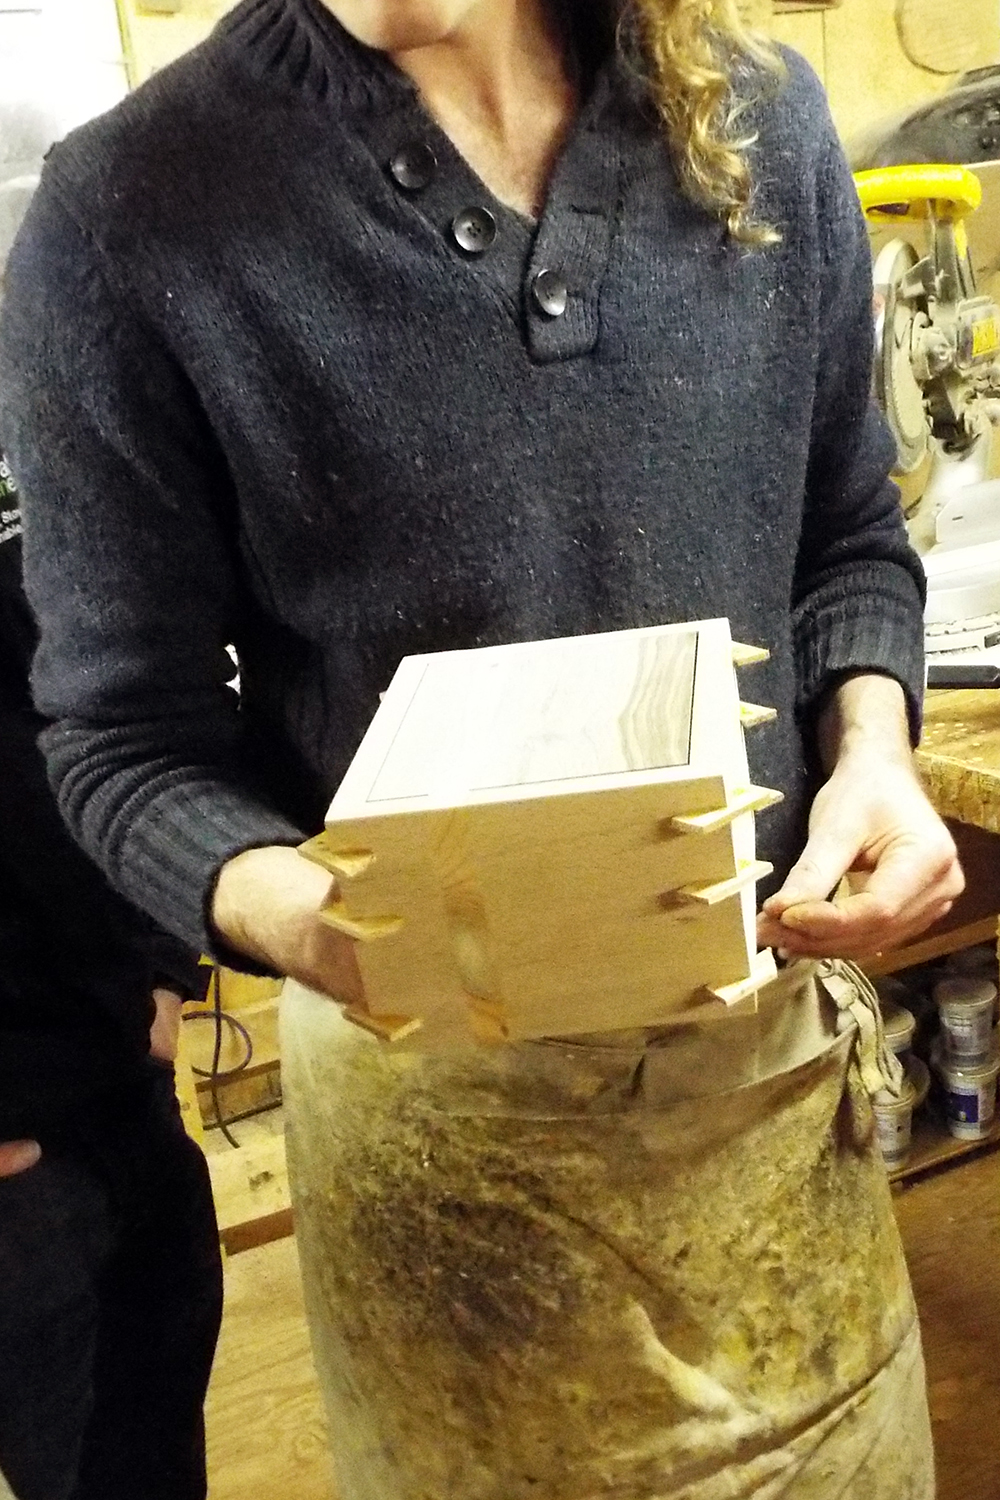
That box was set aside and one that was glued-up a few days previously was now going to be used to show us how corner keys are fitted. With the saw blade at 90º and its height adjusted, the box is now placed in another sled and is cocked at 45º and passed over the saw blade; this is repeated 8 times and leaves 2 slots, 3mm wide at 45º to each corner. 3mm slips of jet black six thousand year old Bog Oak is now glued into the slots and left aside to dry.
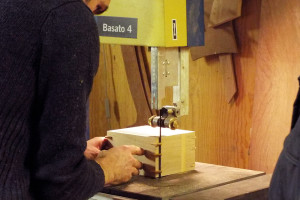
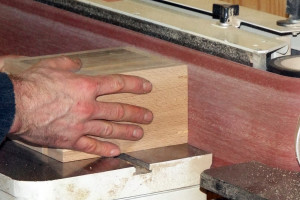
The 3rd box Brian produced was a totally enclosed hollow cuboid and had 12 corner keys fitted, the keys were trimmed on a Band Saw and sanded with 120 grit abrasive on a Vertical Edge Sander. To separate the lid of the box, it is passed over the saw blade once for each side, the depth of the cut is a smidgeen less than the thickness, this guarantees that when parted, the lid will sit true on the box. Parting and trimming of the smidgeen was completed by hand using a surgical blade. The corner keys, apart from being aesthetically pleasing, give great strength to the corners.
Brian then showed us 4 more completed boxes and talked us through designs, lids, handles, hinges, one even had wooden hinges! and the puzzling question of the best finish to use. Wow!
Time for Tea!
Thanks to Edel for providing such a generous spread, and after much banter over Tea, Coffee and Goodies we returned to the workshop.
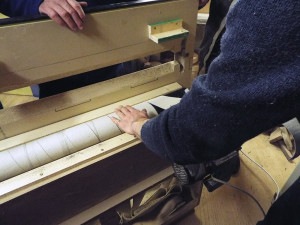
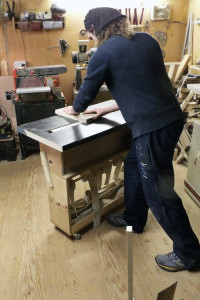
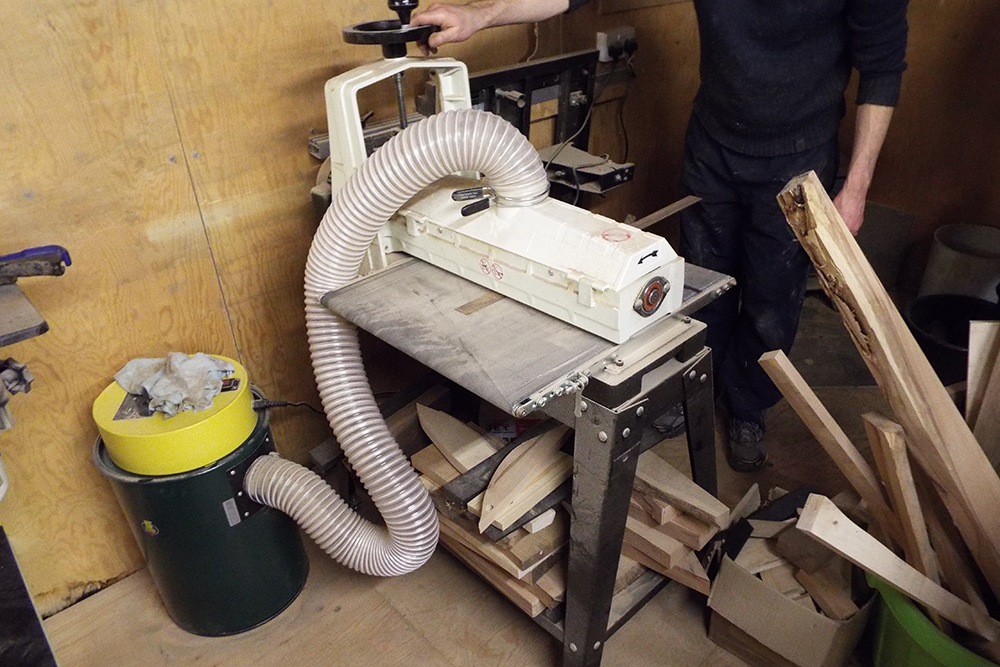
First to be showcased was The Flat Master Sander, this is a simple, and very effective machine which Brian constructed after sending away for the parts. I was impressed with it and if you think this would be a useful addition to your workshop best thing I can recommend, for all the info and lots of other woodworking stuff, is to visit www.stockroomsupply.com Finally, a look at The Bench Top Drum Sander, for finest finish and thickness control.
Hours of preparation and vast experience went into this enjoyable and illuminating workshop, thanks Brian.
Kevin G Walsh.
20th Jan 2016
Leave a Reply