This was Kevin’s first workshop in his new home. His new shed is spacious and well laid out but needs a few years of accumulated saw-dust and junk to feel like a proper wood-turning environment!
Kevin always comes with a new twist on things and this time almost literally. He started talking about nuts. Not your ordinary 10mm common or garden nut either but castellated nuts. You know the type where you put a split pin through the lumpy bits on the top of the nut and through a hole in the bolt bit. If you’ve ever had a propellor fall off your boat at a critical moment you’ll understand the importance of castellated nuts and split pins – but I digress.
As an aside, in archaeological terms, the lumpy bits around the top of a castle wall are not called “castellations”, but “crenellations”. The gaps in the wall being referred to as “crenels” and the bits of stone in between, “merlons”. But again I digress!
Using a flip chart. Kevin explained how he found inspiration in a castellated nut for an interesting variation on a small vase. His idea was to create a vase with castellations around the top and grooves leading from the crenels down the side of the vase. But first, a geometry lesson. For some in the room it brought back memories of protractors and set-squares and sore knuckles from teachers with sharp edged rulers.
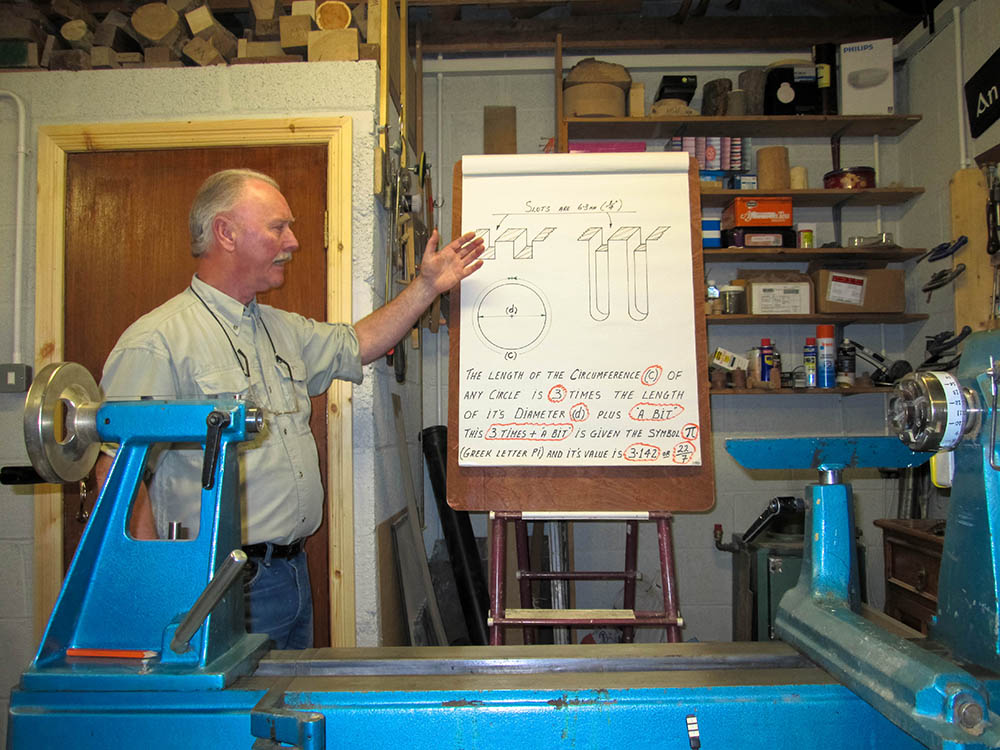
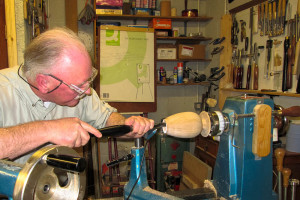
Then on to the turning. Kevin started off with a sycamore blank maybe 250mm long by 100mm in diameter.
He shaped the outside of the vase very carefully paying particular attention to get the curve of the upper part of the vase as close as possible to the template he had prepared earlier. The reason for this precision became apparent later on when he came to cut the grooves.

He then shaped the bottom of the piece and defined the base, using a spindle gouge for the close-in work and finishing the outside with a scraper.
He then used a forstner bit to begin the hollowing process. He sometimes uses a Bull-nosed cutter for hollowing work though he finds this very aggressive. On this occasion he used a Mark Sanger tool, finishing off with a ½” scraper and a rub of sandpaper. Kevin demonstrated a very small LED light that could be attached to the tool itself with a small magnet to illuminate the inside of the piece. (Available from John Woods at www.woodart-products.co.uk, £19 + P&P)
Kevin then applied a thin (3-4mm) line of black artist’s gesso around the inside of the vase about 20mm down from the rim. The purpose of this being to hide any dye that might seep down the grain when he coloured the piece later. Then, rather than wait for the gesso to dry, he produced another piece turned to the same stage that he had prepared earlier and mounted it on the lathe.
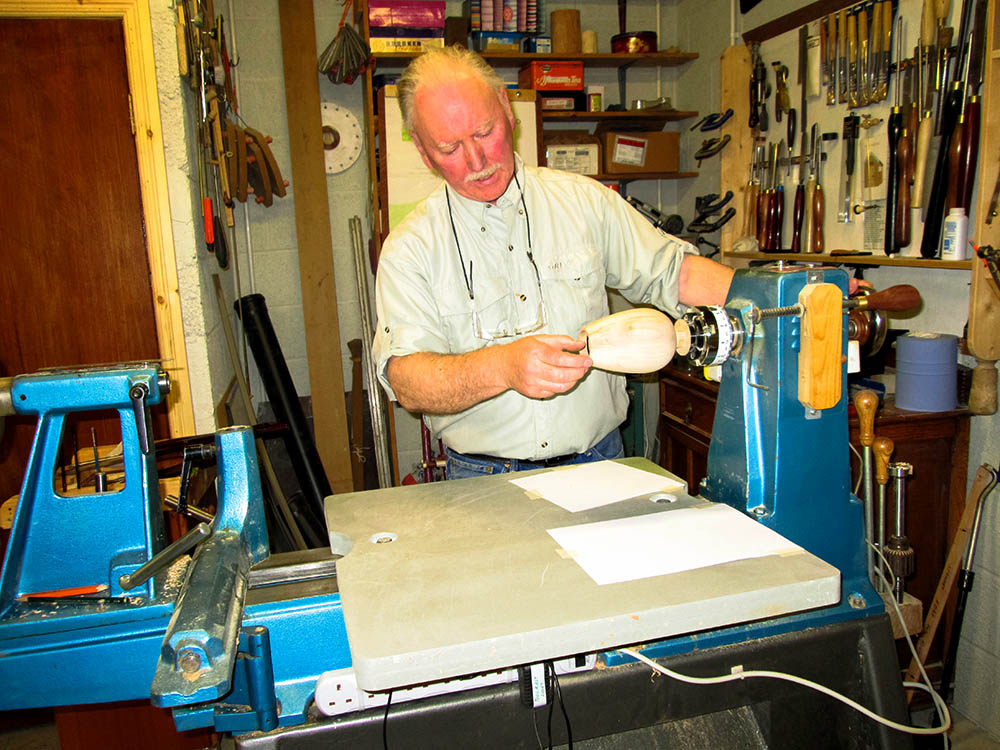
In order to create the castellation and fluting effect, Kevin mounted a large worktable to the bed of the lathe, securing it with a couple of bolts. The purpose of the table being to provide a flat surface for the router (mounted in a wooden frame at right angles to the table) to work from. He then attached a wooden batten to the table to guide the router across the open mouth of the vase. Before commencing routing, Keven isolated the power supply to the lathe to avoid the potential for nasty accidents.
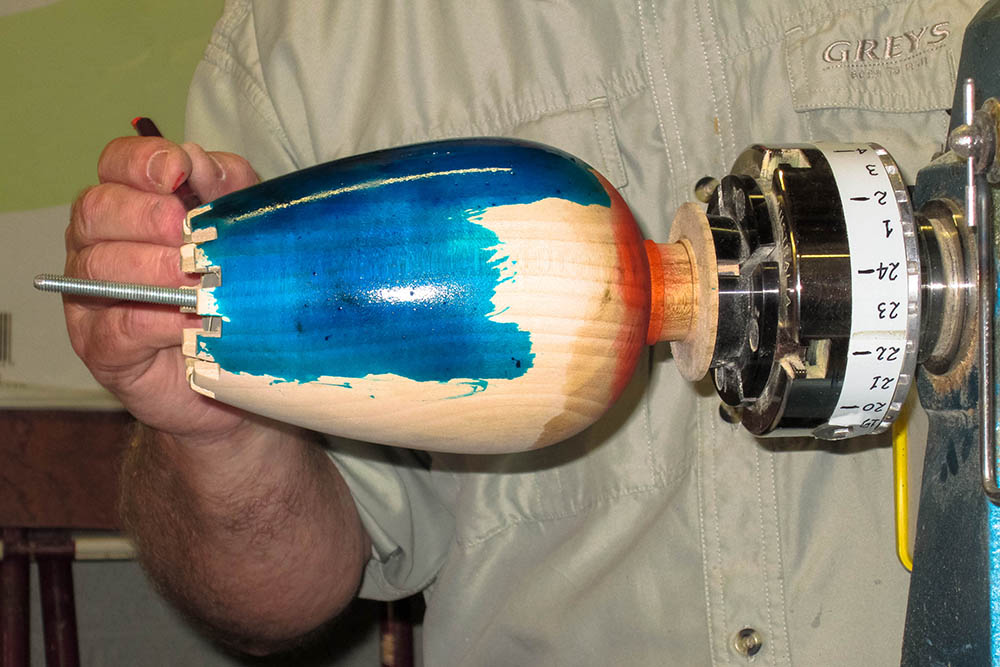
While Kevin’s lathe comes with an indexing facility he has found that there is a certain amount of play in the registration which can affect the accuracy of a piece like this so he has rigged up a spring-loaded catch that engages with the index ring on his chuck to take up the play.
Kevin then used the router and the guide batten to cut the castellations (12 in all) into the top of the vase.
His next step was to colour the outside of the piece using J D Lockwood water soluble dyes. Peacock blue in this case. He finds there’s a greenish tinge in the peacock blue that comes out nicely on the sycamore. He used a flexible “plug” inside the vase to prevent dye splashing on the inside surface of the vase.
To allow time for the dye to dry, we adjourned for tea. Our thanks to Margaret and Kevin’s sister Mary for providing such a generous spread.

The next step was to machine the grooves down the side of the piece. Kevin had fashioned an arrangement where the router could swing through an arc on the end of a radius arm clamped to the table. He explained that this was the reason for his care earlier in defining the shape of the upper part of the vase with the template. By ensuring that the vase had the profile of the arc of a circle and careful adjustment of the centre of rotation and length of the radius arm, he could ensure that the router, following a similar arc would cut a groove of constant depth. He used a stop fixed to the table to define the length of each of the grooves.
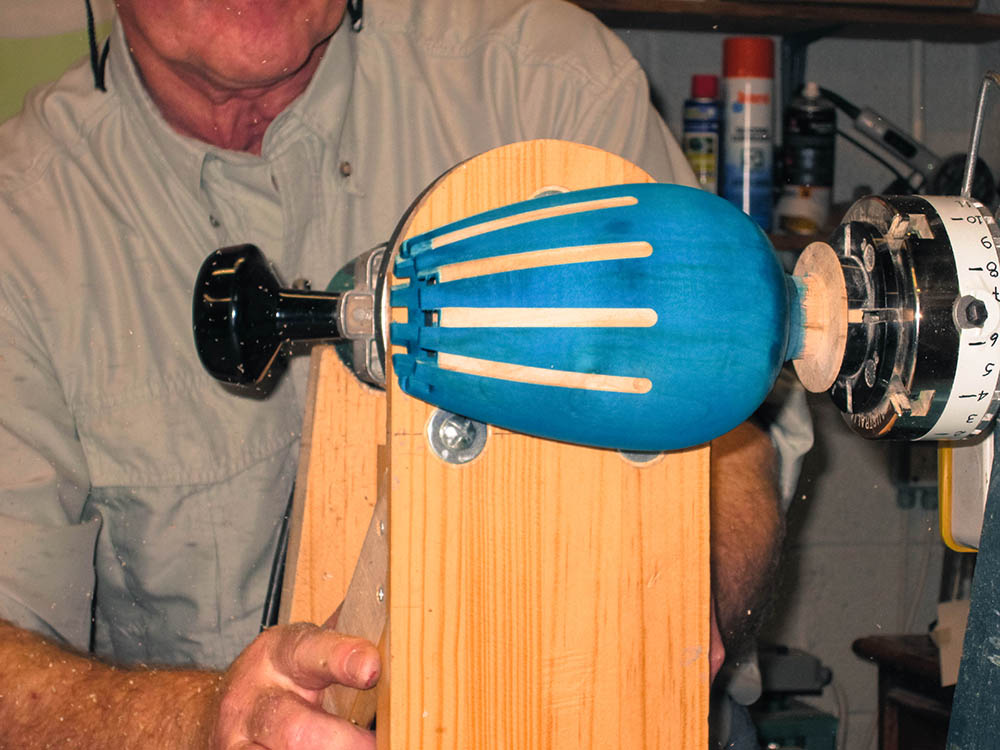
Again using his indexing arrangement Kevin then cut the 12 grooves in the side of the vase and finally parted off the piece.
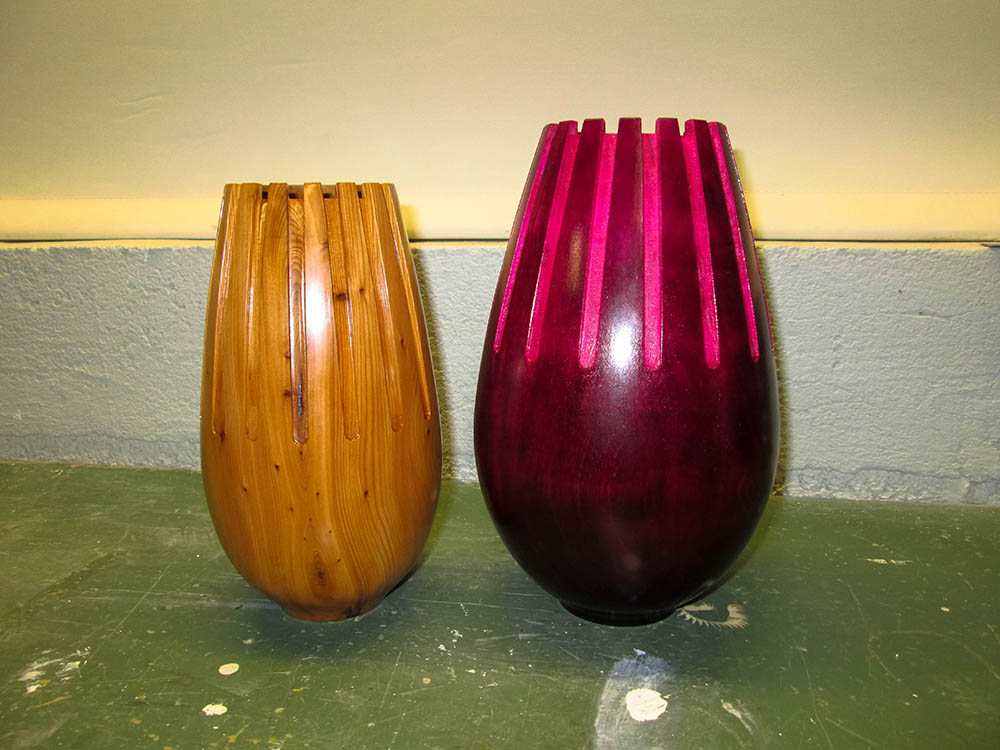
Kevin then showed a selection of similar pieces he had made earlier with different woods and colour schemes. He also demonstrated a home-made indexing arrangement he had made using a disk of ply-wood fixed to the back of his chuck. He had generated a drilling pattern for the index plate using his CAD system and he offered to print off similar patterns for anyone who wanted one.
All in all a fascinating workshop which had obviously required a huge amount of preparation. Thank you Kevin. And thanks to Brian too for the stash of off-cuts for my wood box.
Colin Becker
Leave a Reply