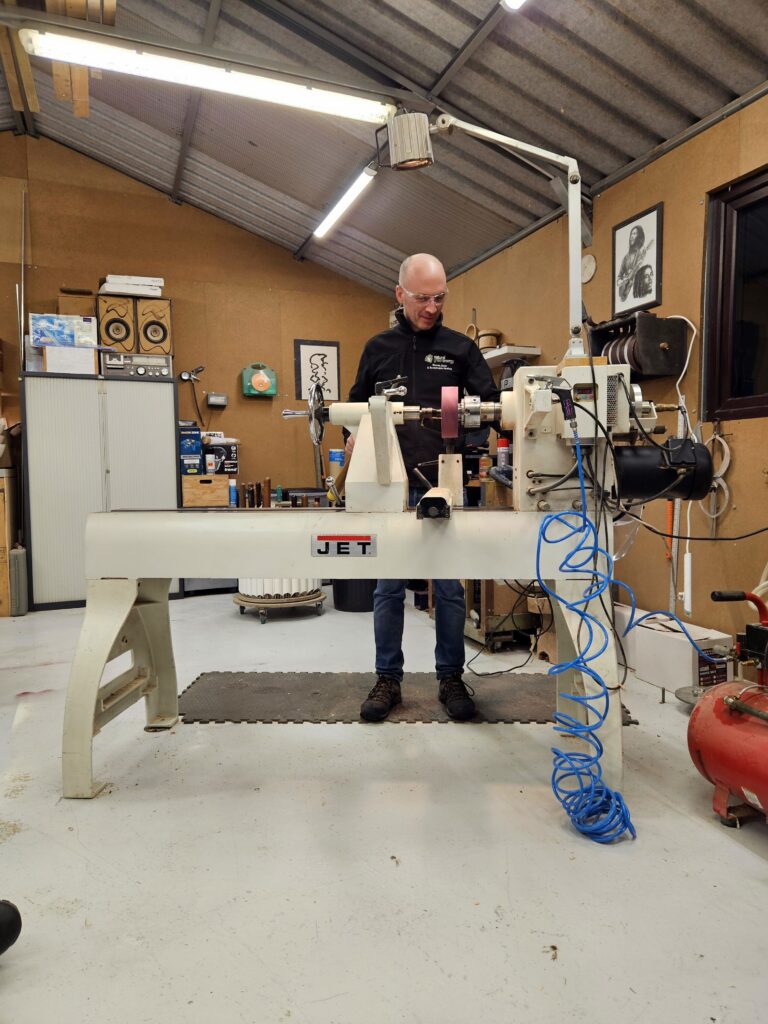
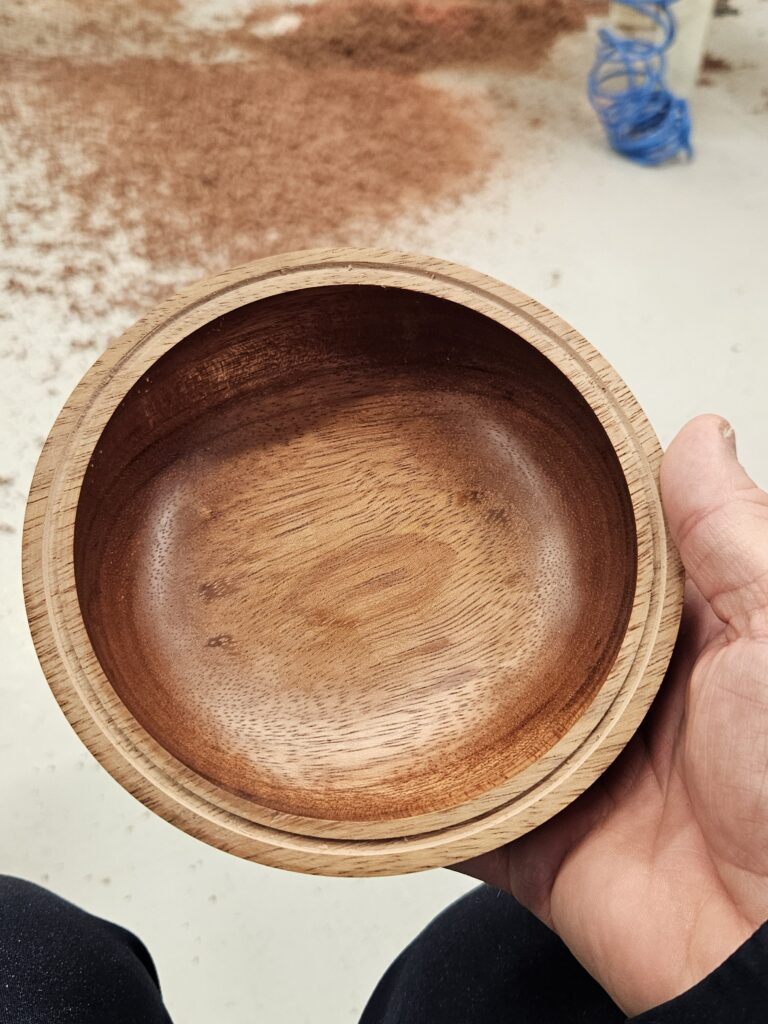
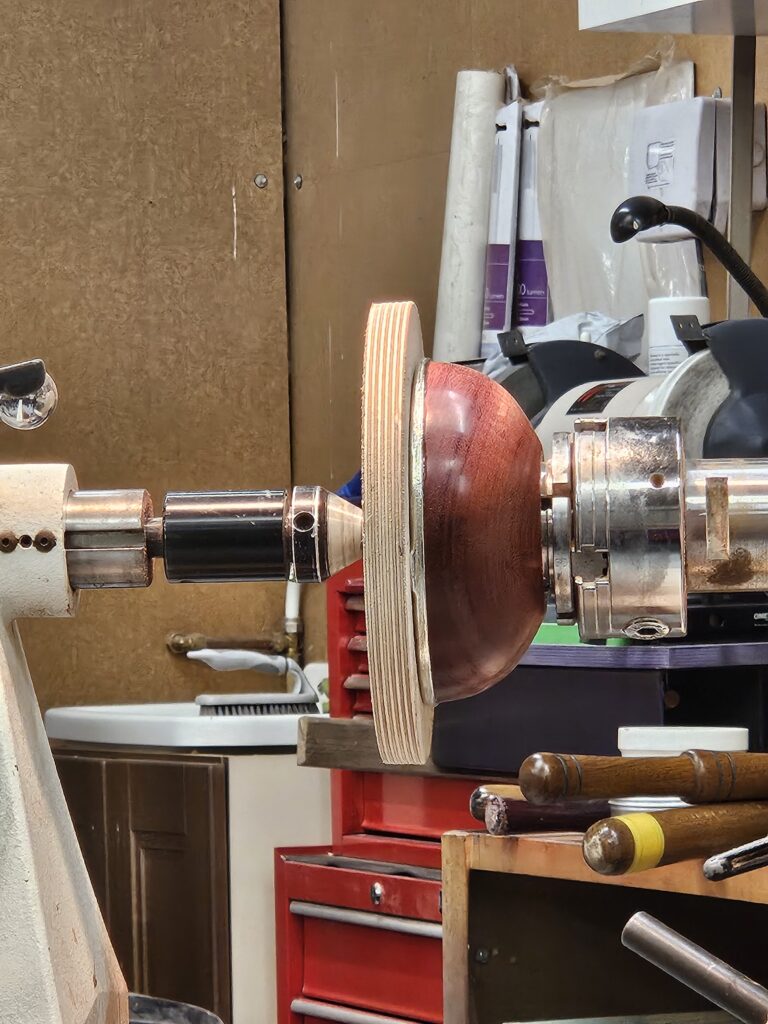
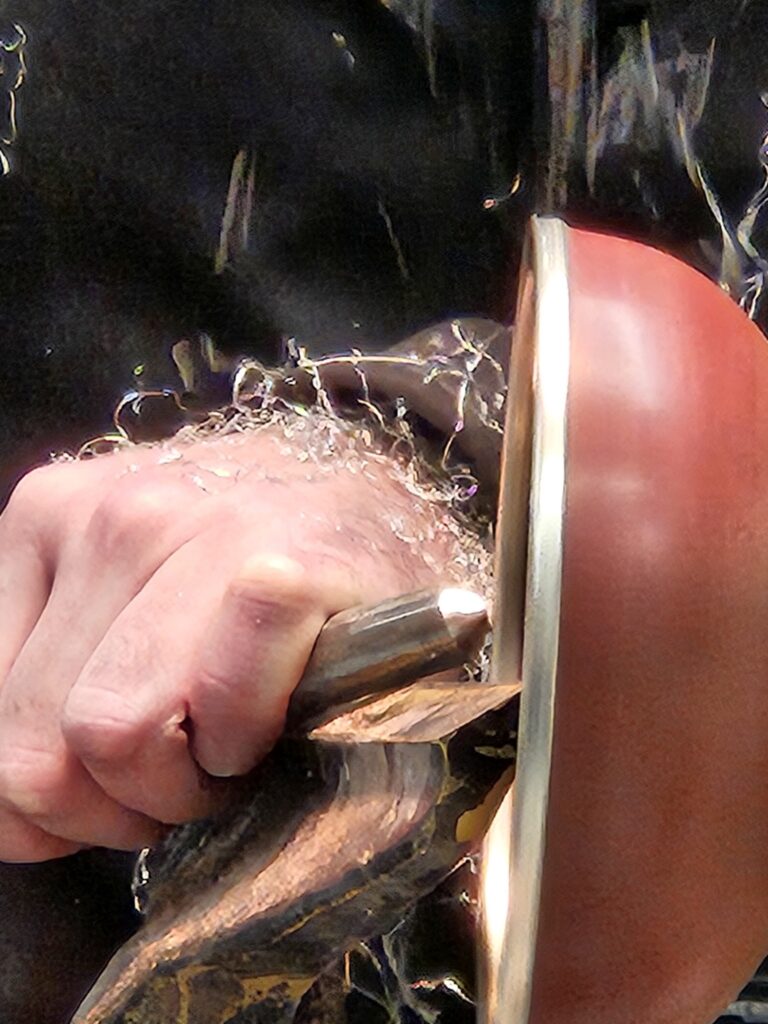
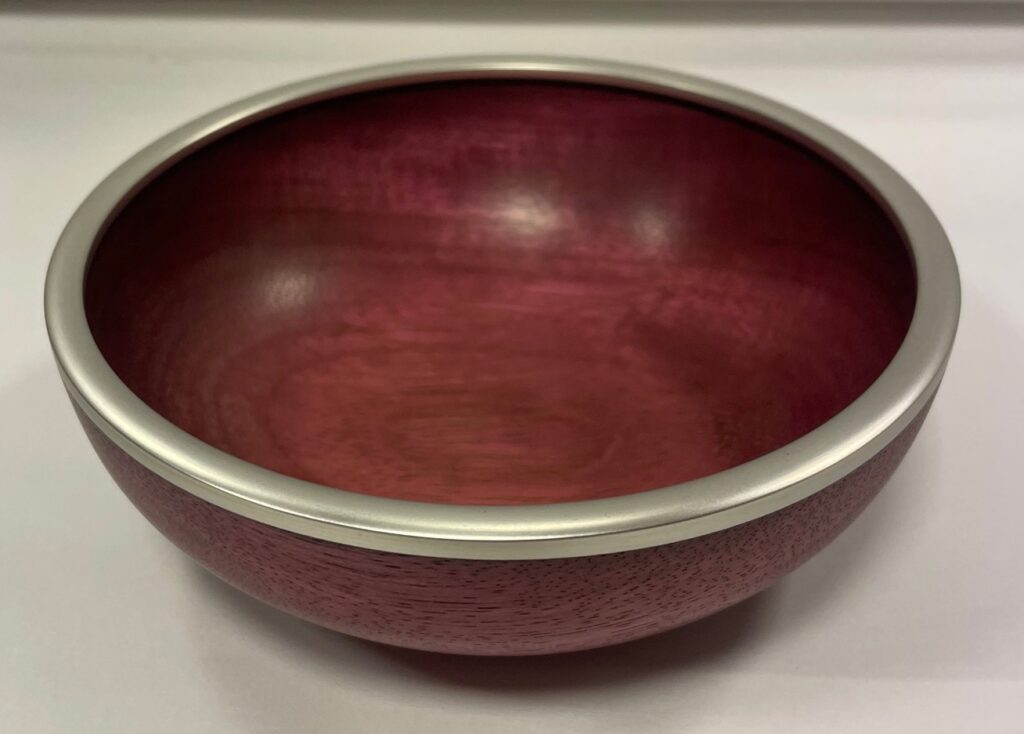
The first project of the evening was a Purple Heart bowl with a pewter rim and Milliput under-rim detail.
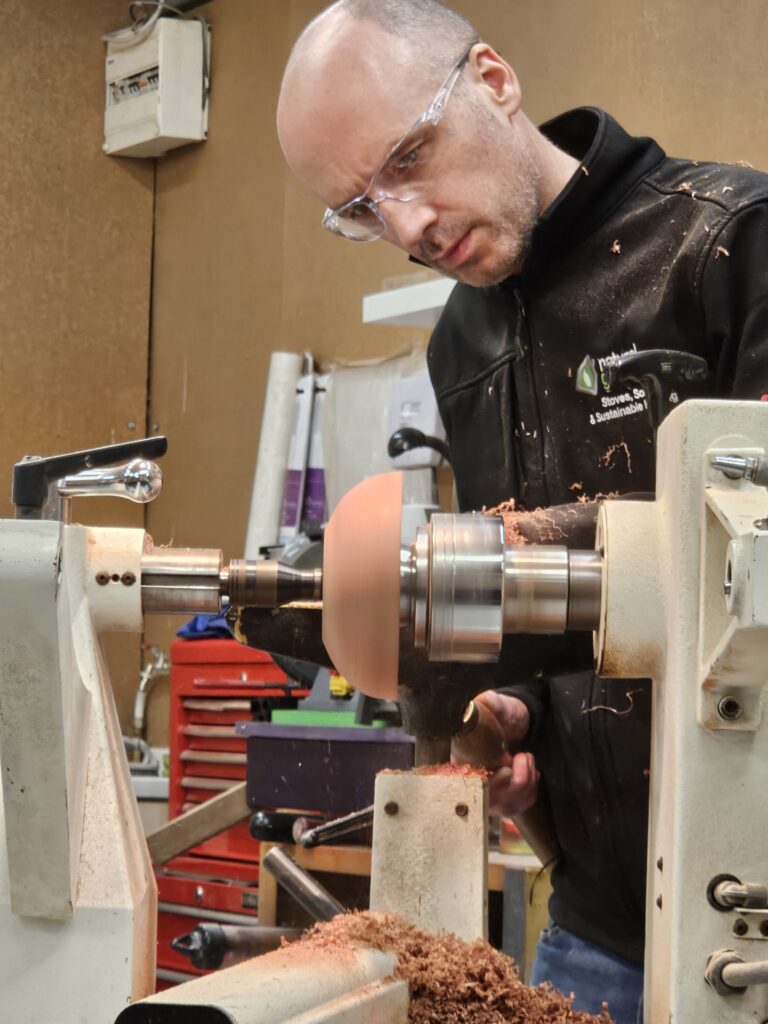
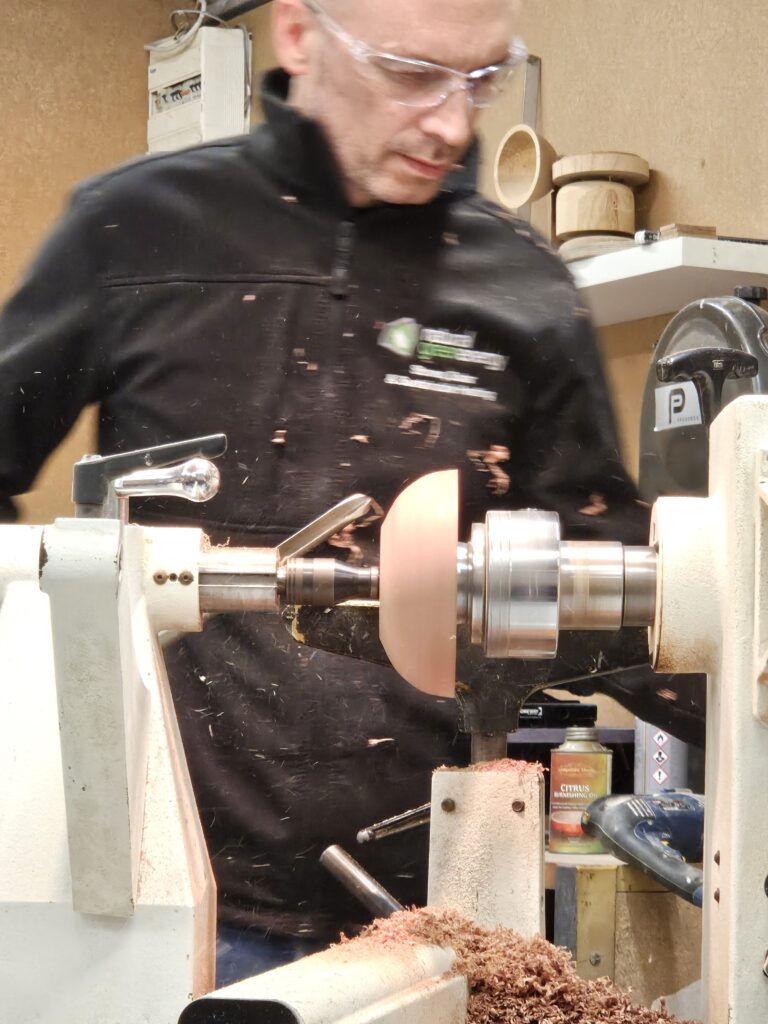
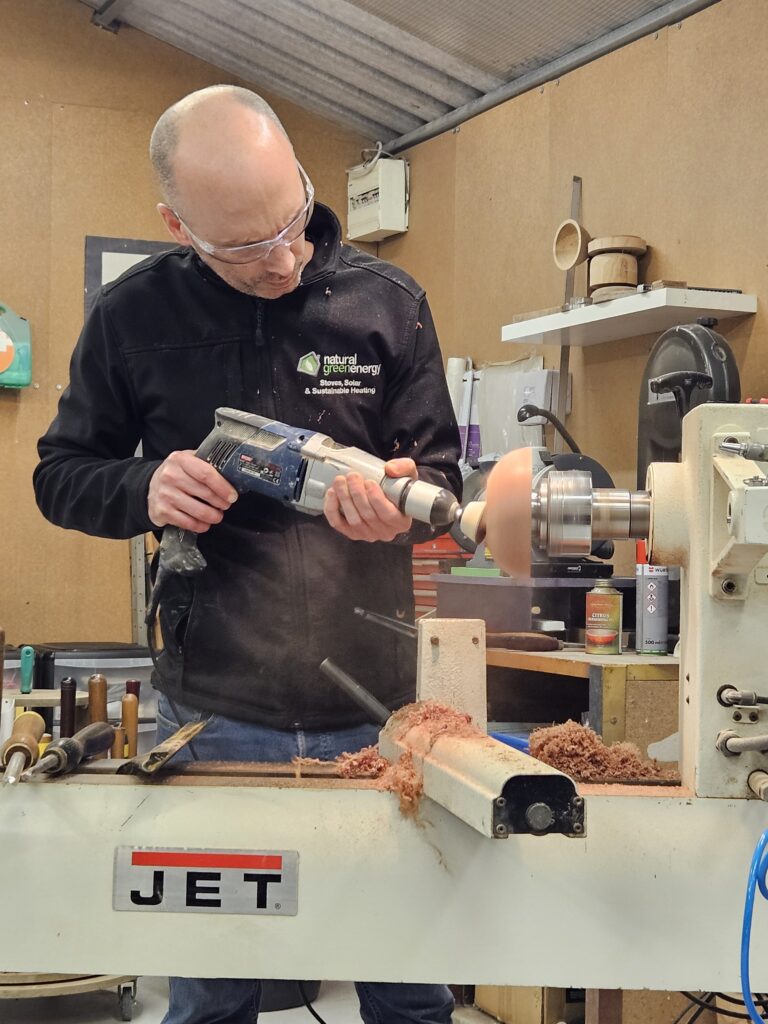
Shaping the outside of the bowl.
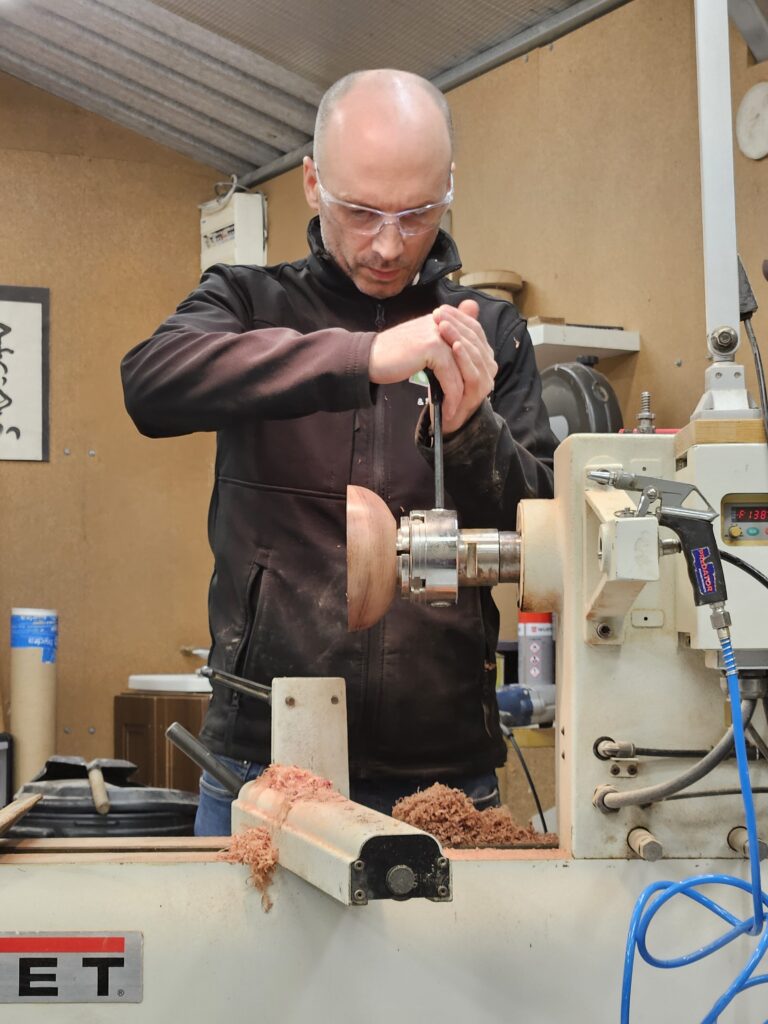
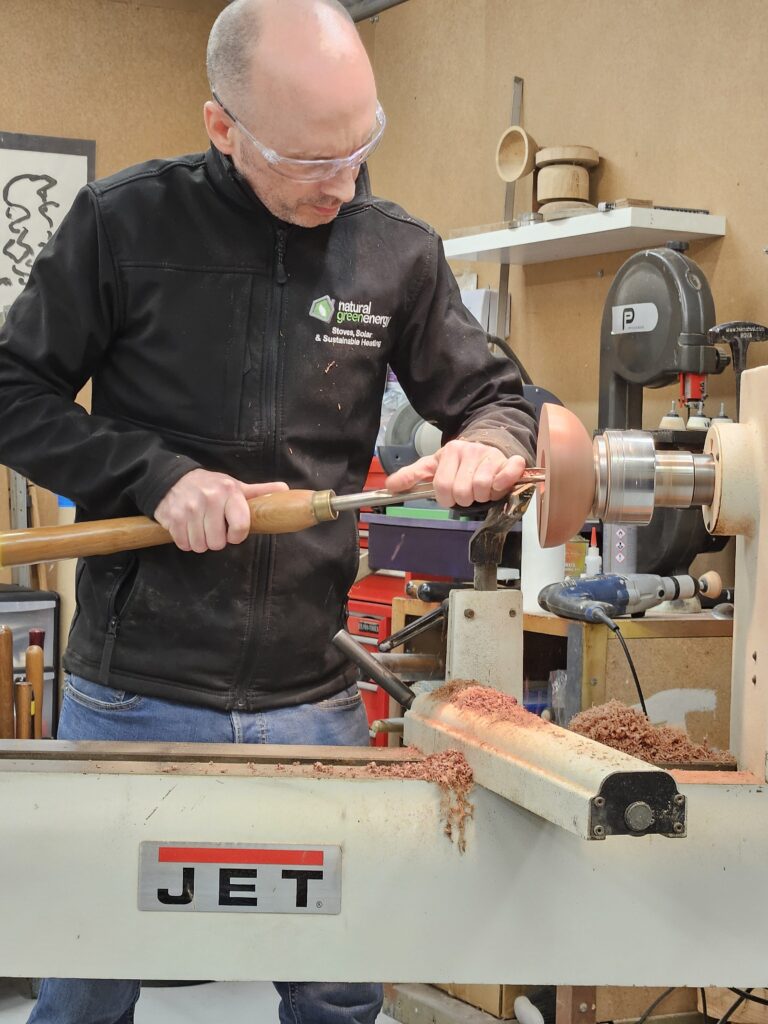
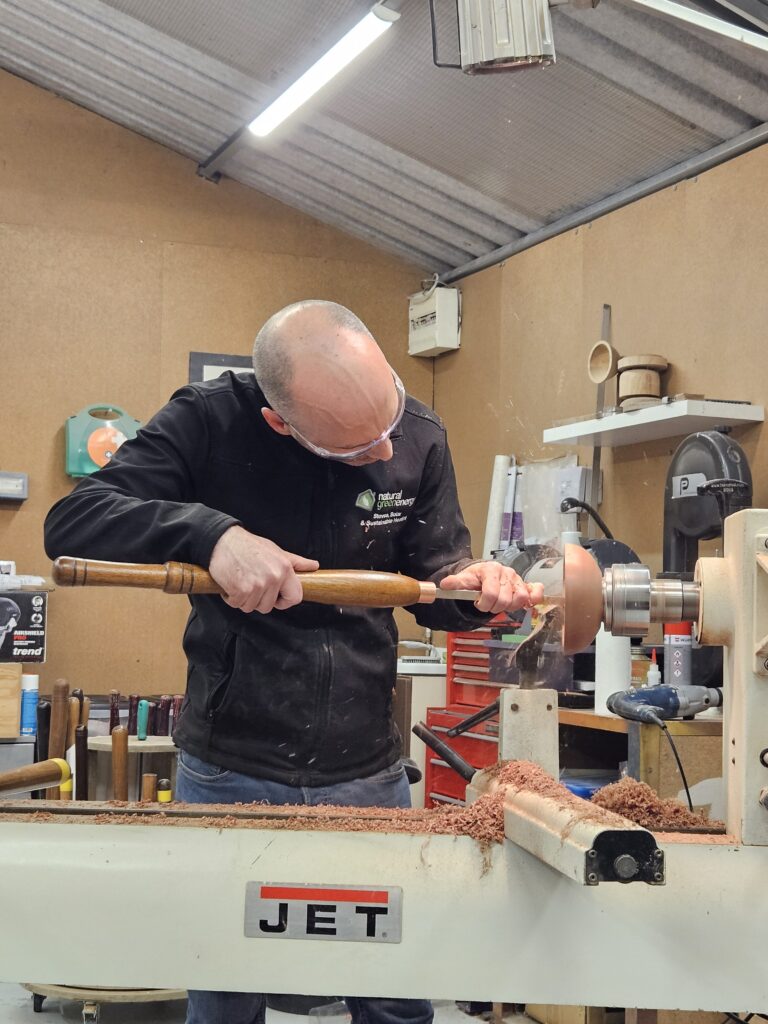
Turning out the inside.
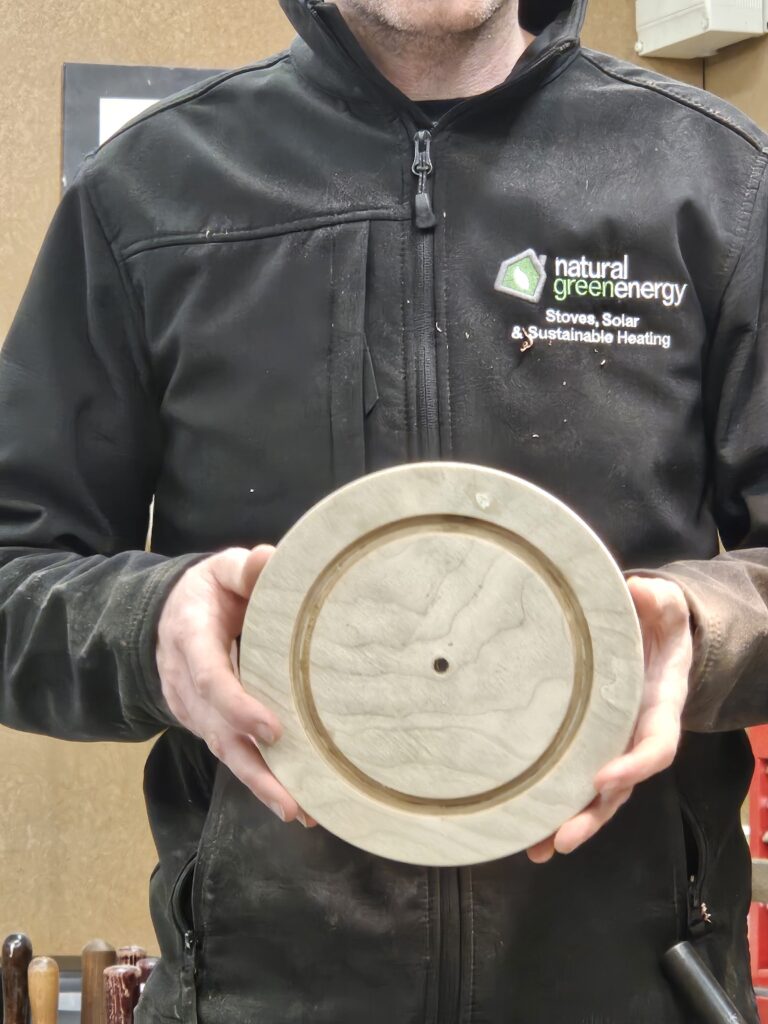
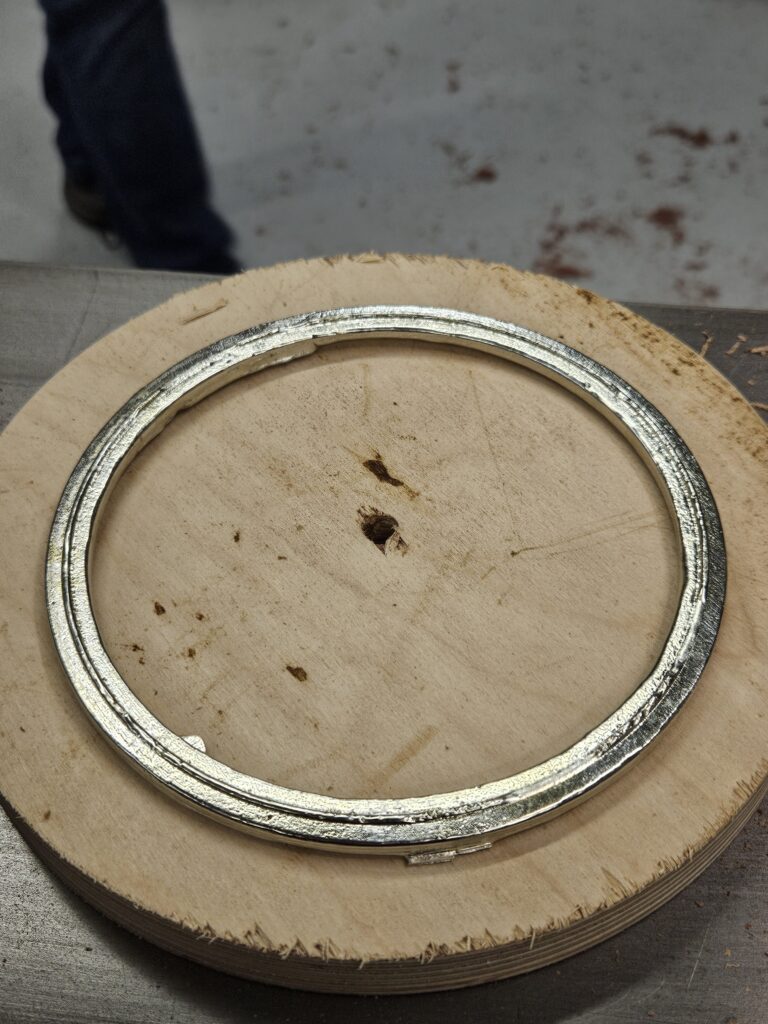
A groove is cut into a waste piece of plywood. A corresponding groove is cut into the bowl rim.
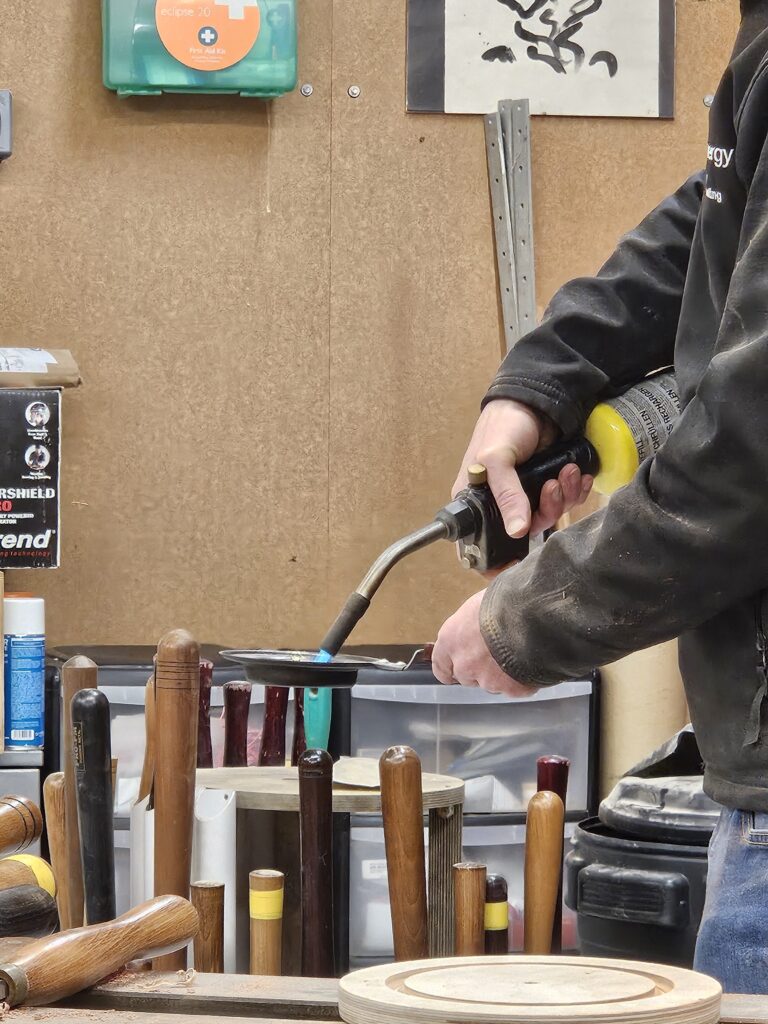

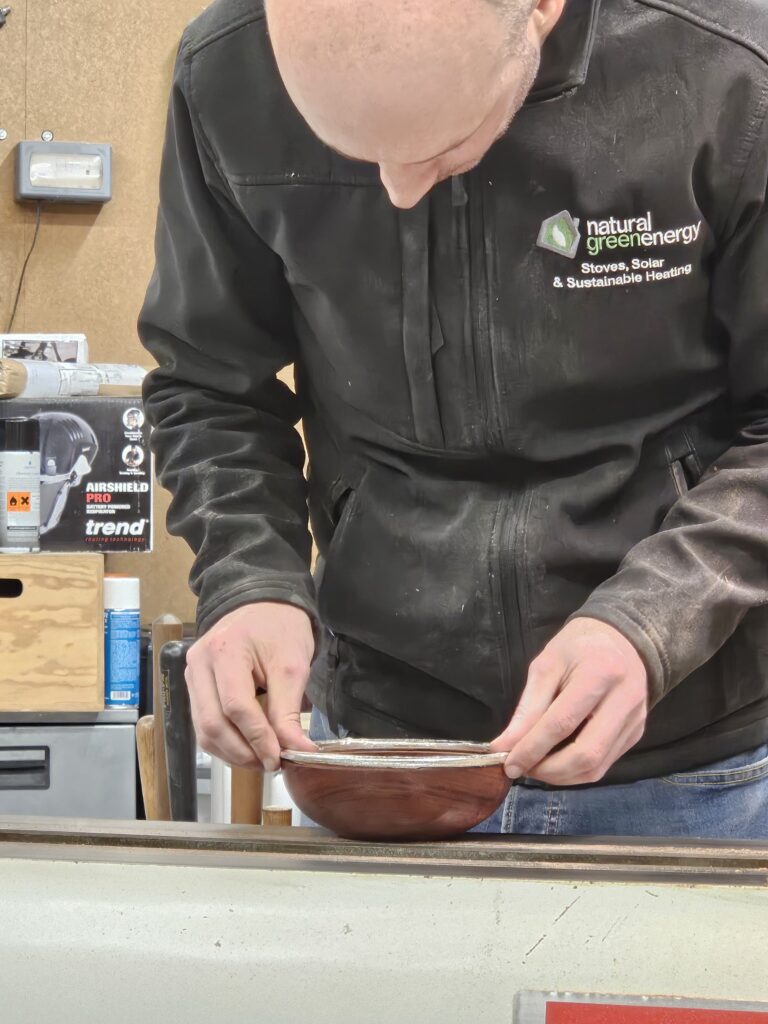
The pewter is melted with gas and poured into the mould. Once cooled it is tipped out of the mould and superglued to the rim of the bowl. This is then turned and sanded. A small under cut is then made on the underside of the rim and Milliput is pressed in. When this dries it is also sanded. The bowl is finished with a satin lacquer which gives a nice finish and stops the pewter rim form tarnishing.
I went on to demonstrate a few different finishes I have been experimenting with. I had pre-turned a few small pots to demonstrate on. The first was a piece of ash.
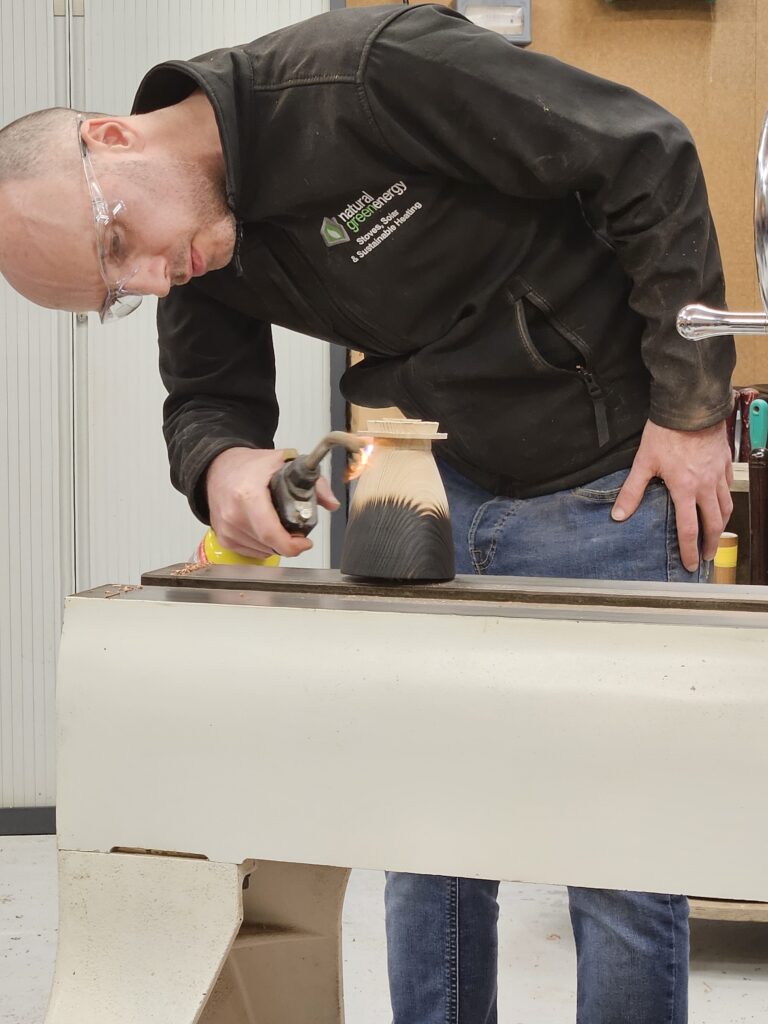
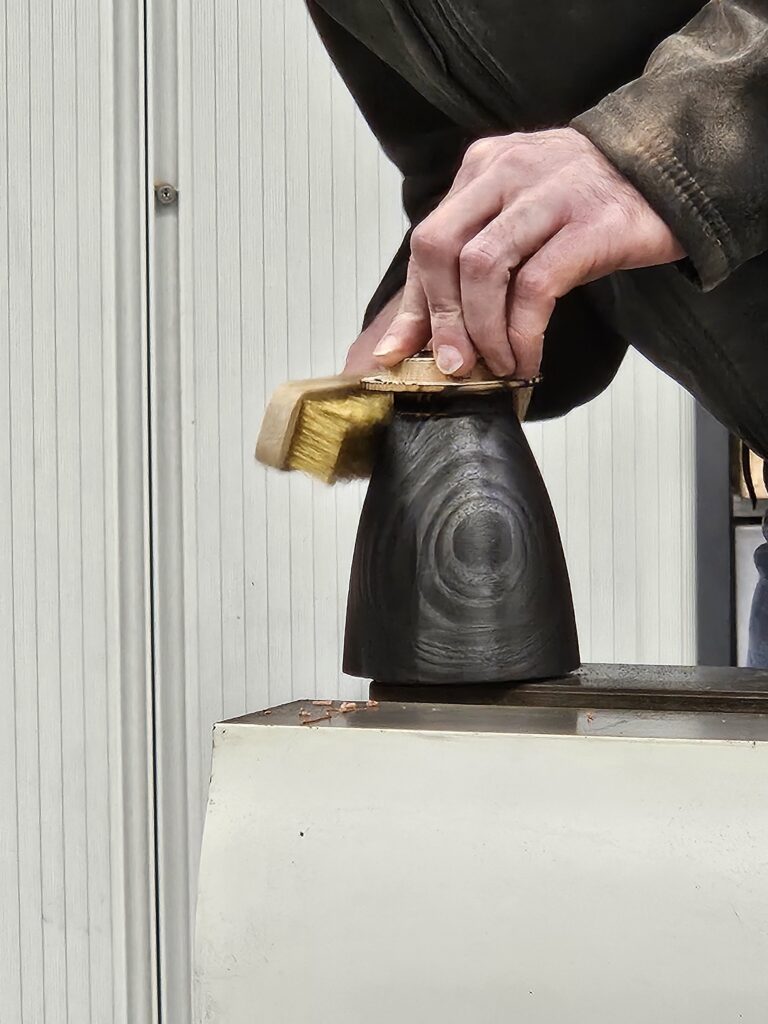
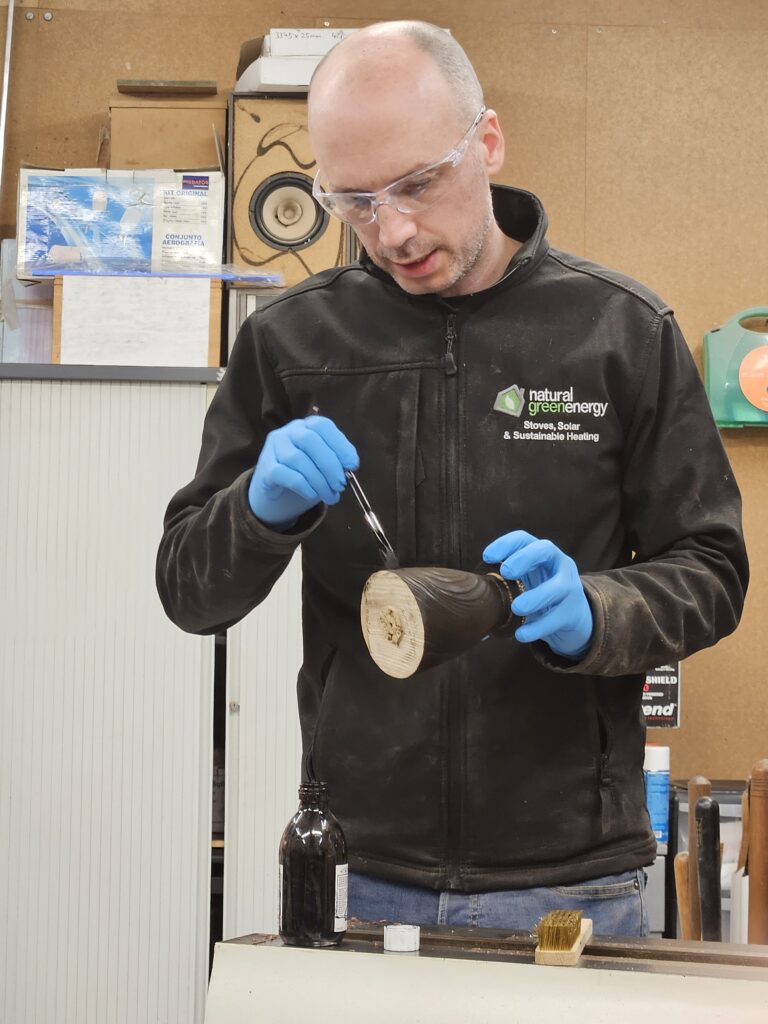
The piece was burned using gas. A brass brush was then used to brush away the softer wood. The surface was then painted with India Ink to really enhance the black.
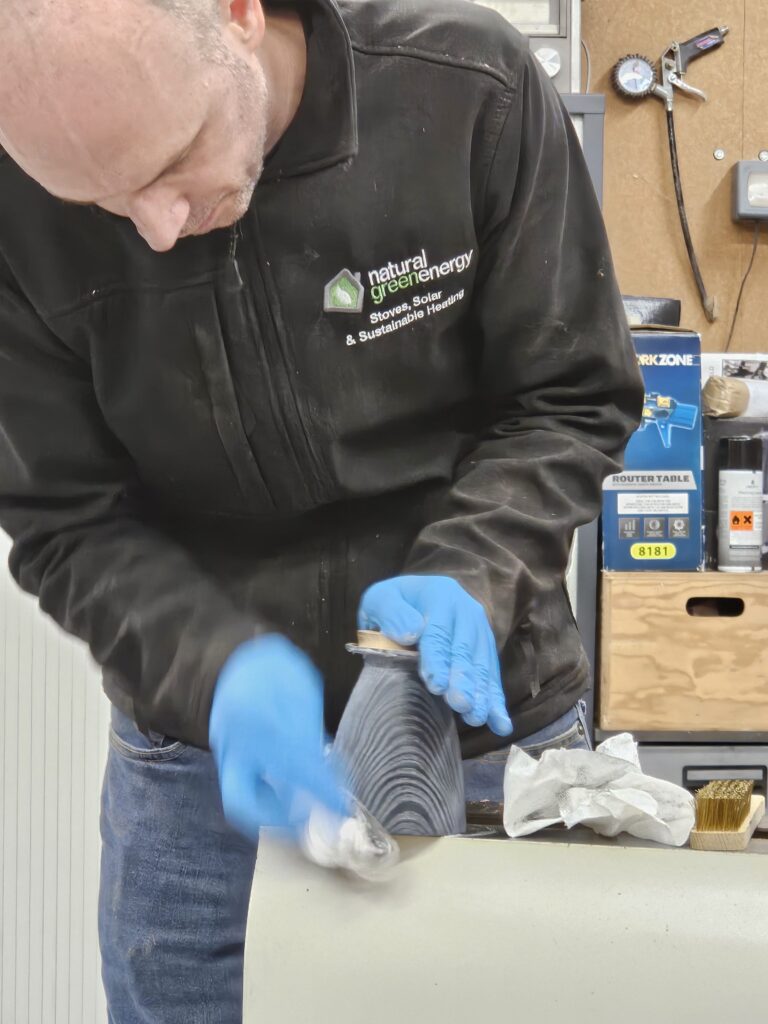
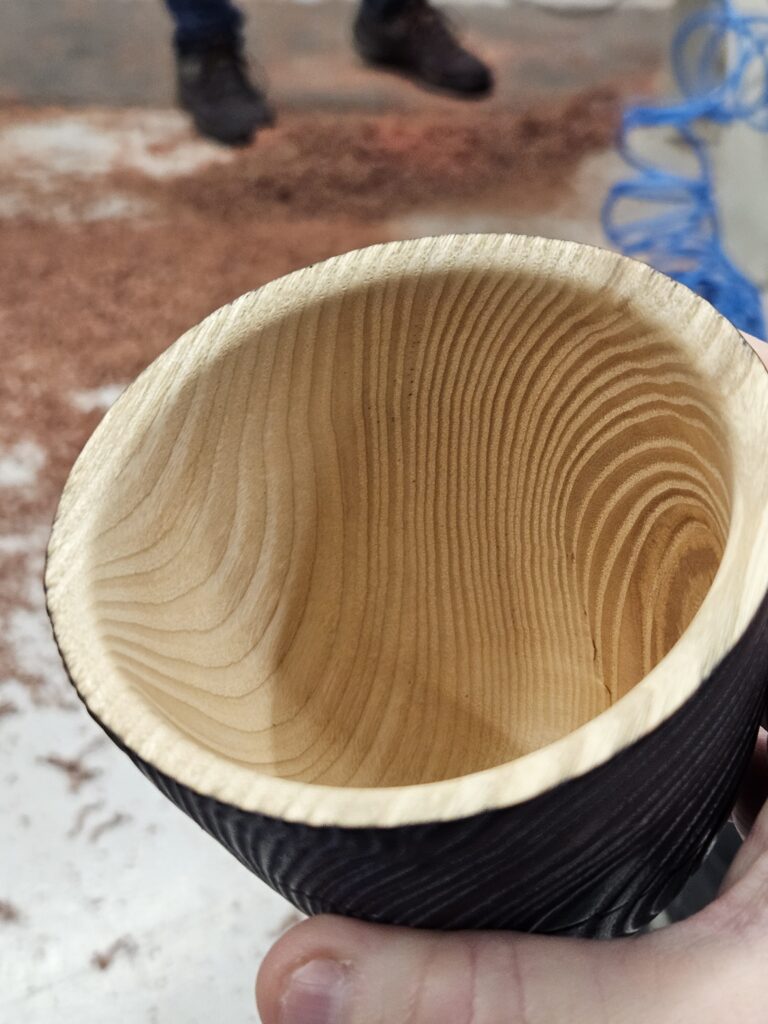
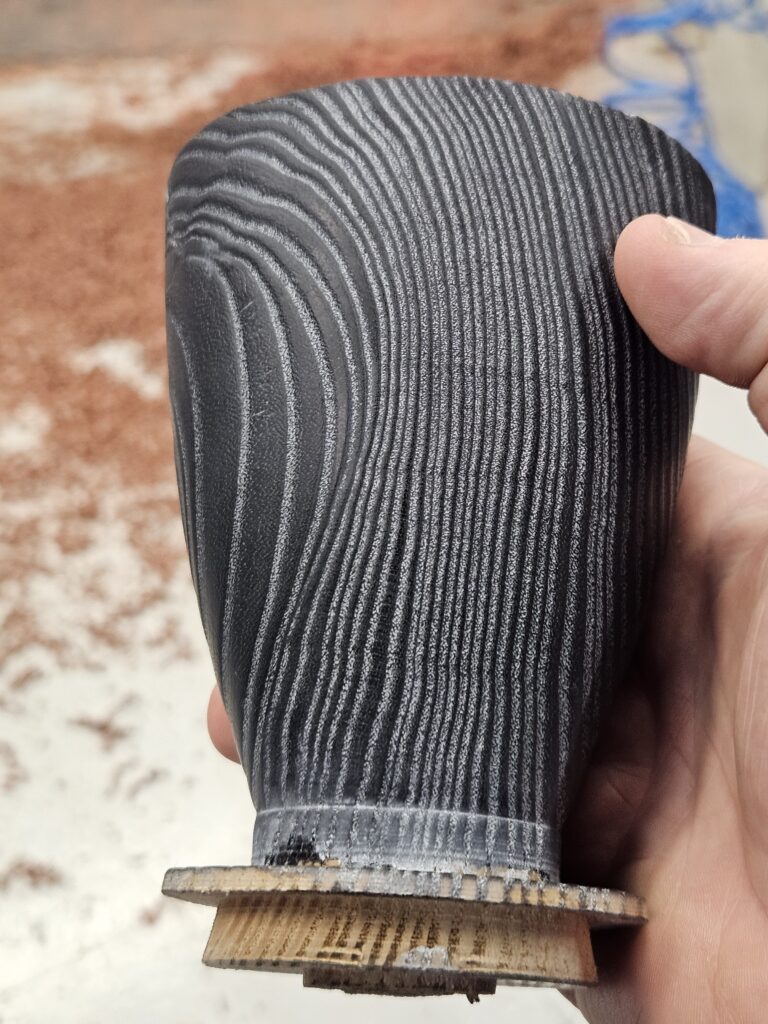
Liming wax was then rubbed into the piece to highlight the grain.
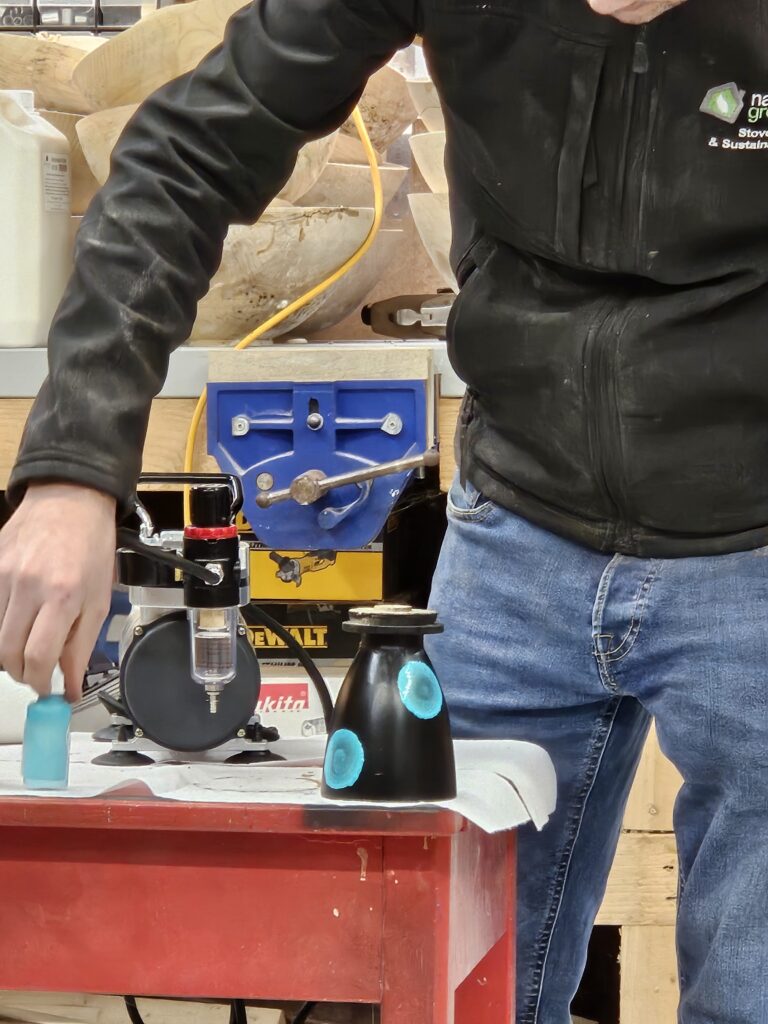
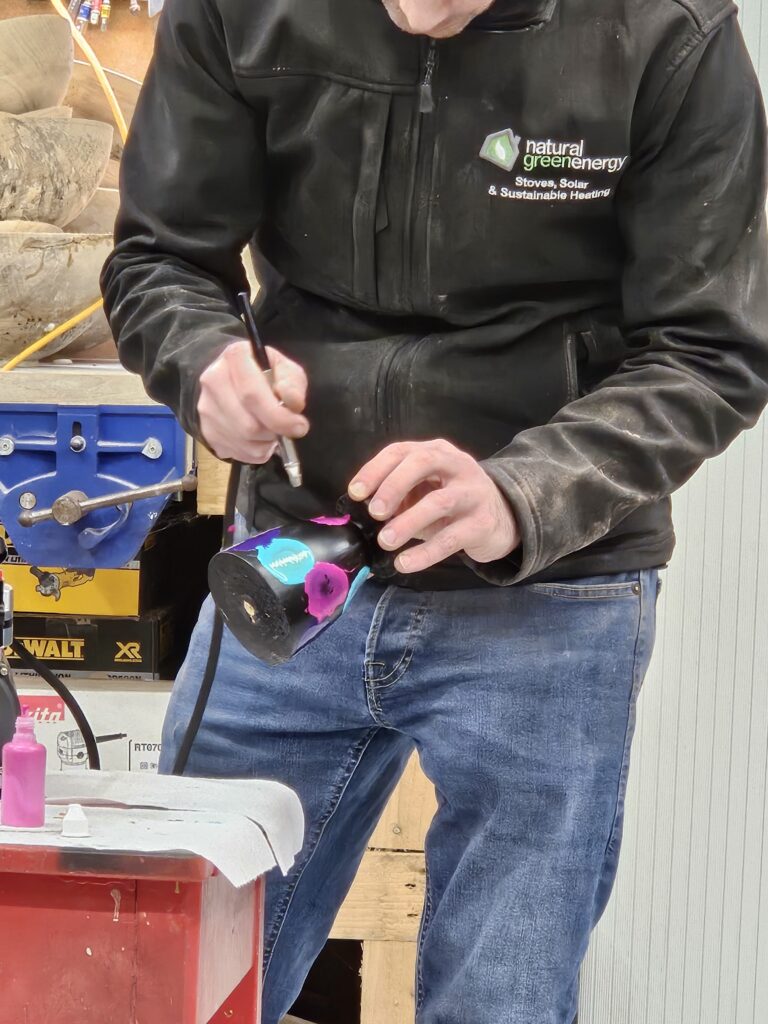
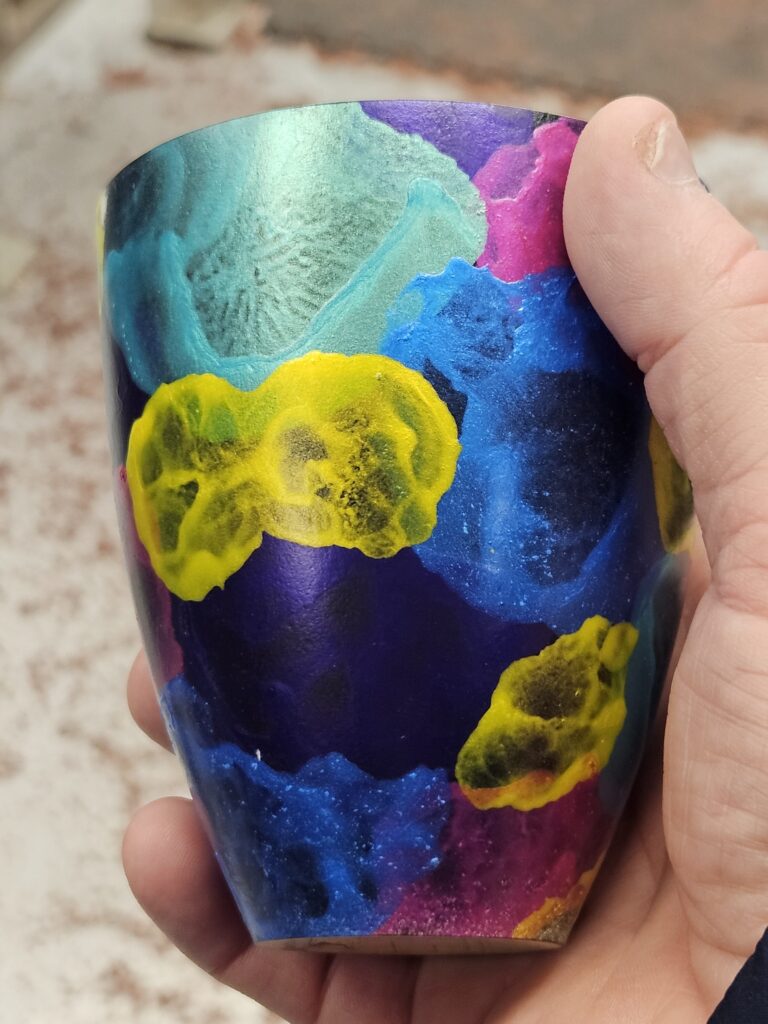
The second piece was a piece of Beech that had been painted with a gloss black on the outside of the pot. A small dot of Chestnut iridescent paint was put on the pot and spread out over the surface using a mini compressor. The process was repeated over the whole surface using different colours ensuring to overlap the previous colours.
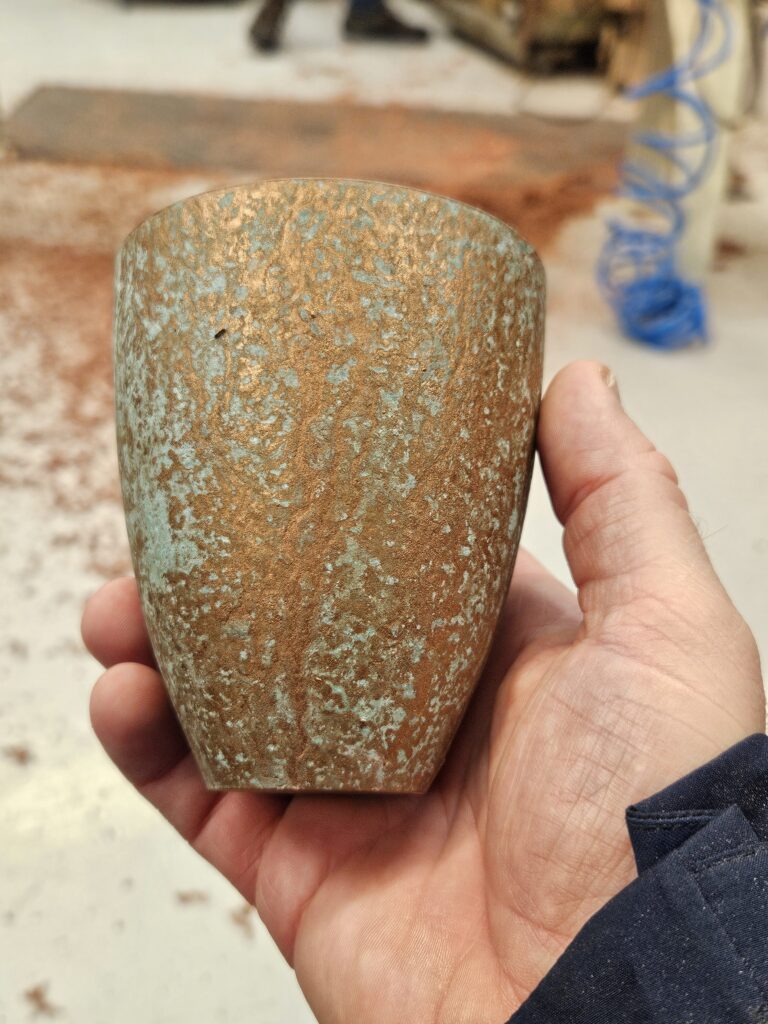
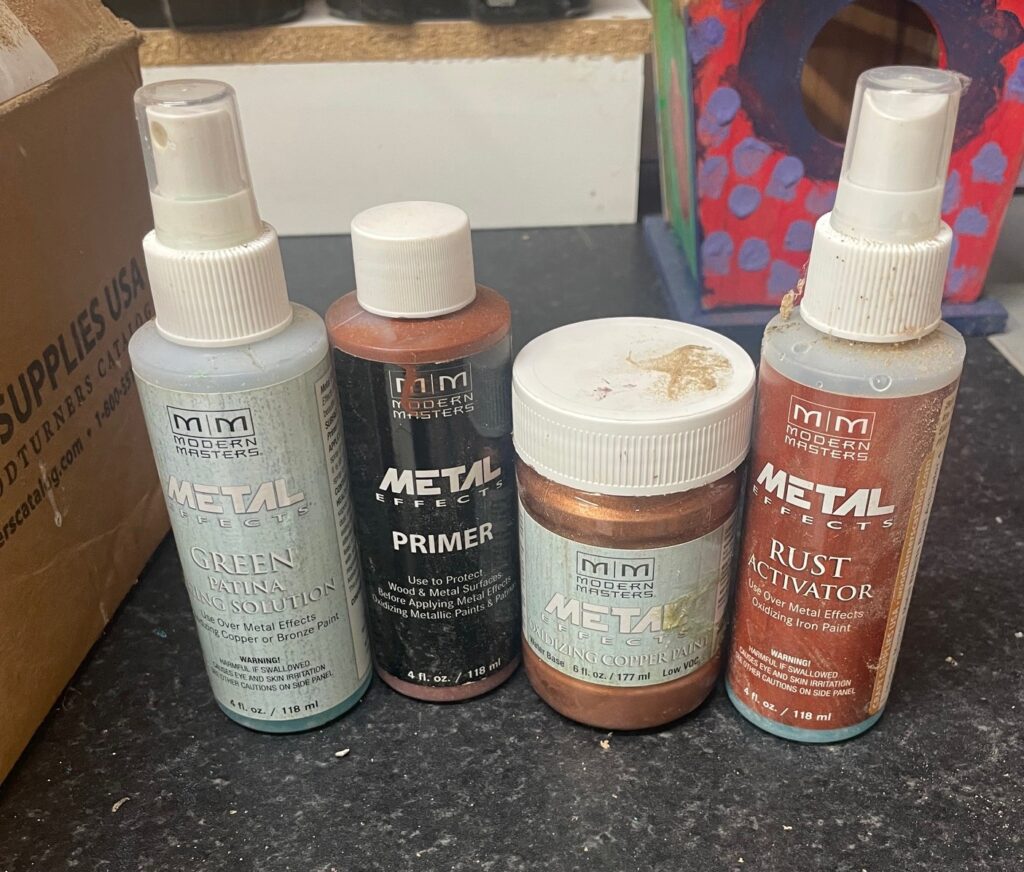
The next finish demonstrated was Metal Effect. This process is done using special paint and a rust activator. You start with two coats of primer. Then a coat of copper paint. This is a paint that contains copper. While the paint is wet, you spritz it with Patina solution which creates the chemical reaction.
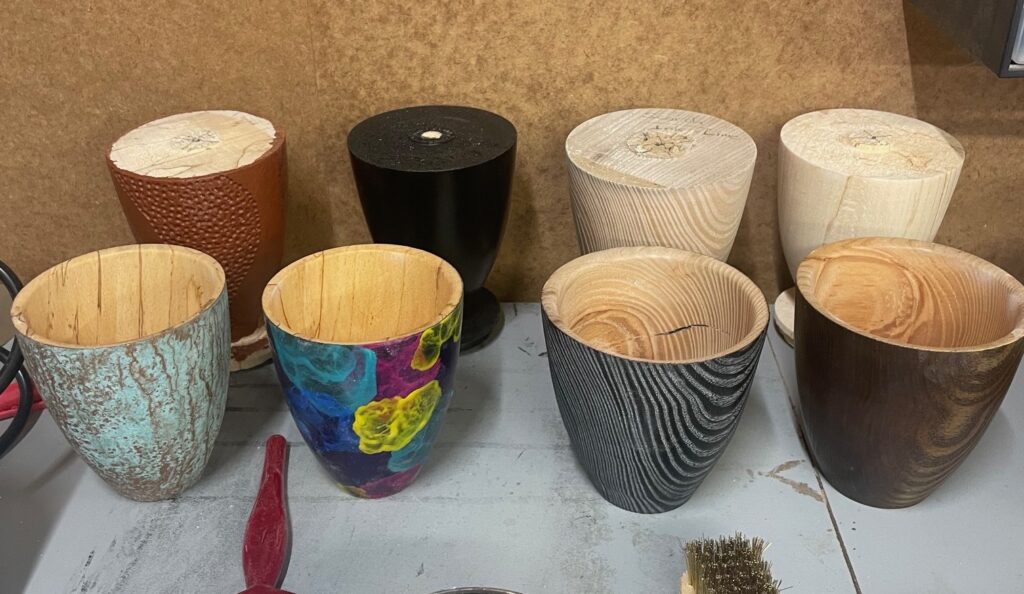
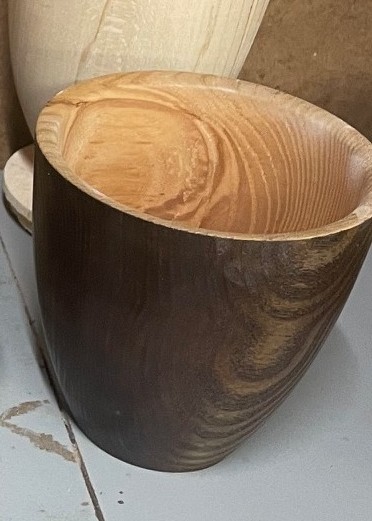
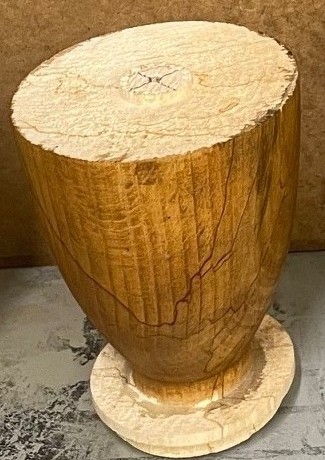
This finish is the simplest to apply. It is a Vinegar & Fine Steel Wool finish. The vinegar dissolves the protective coating on the steel wool. The steel wool then reacts with the oxygen to form rust. I half filled a jam jar with 0000 grade steel wool. Put in enough vinegar to just cover it and tightened the lid. I did this a few days before I needed it. When applied, the solution reacts with the tannin in the wood. It was much more successful using it on the Ash (Pic above left) than with the beech.
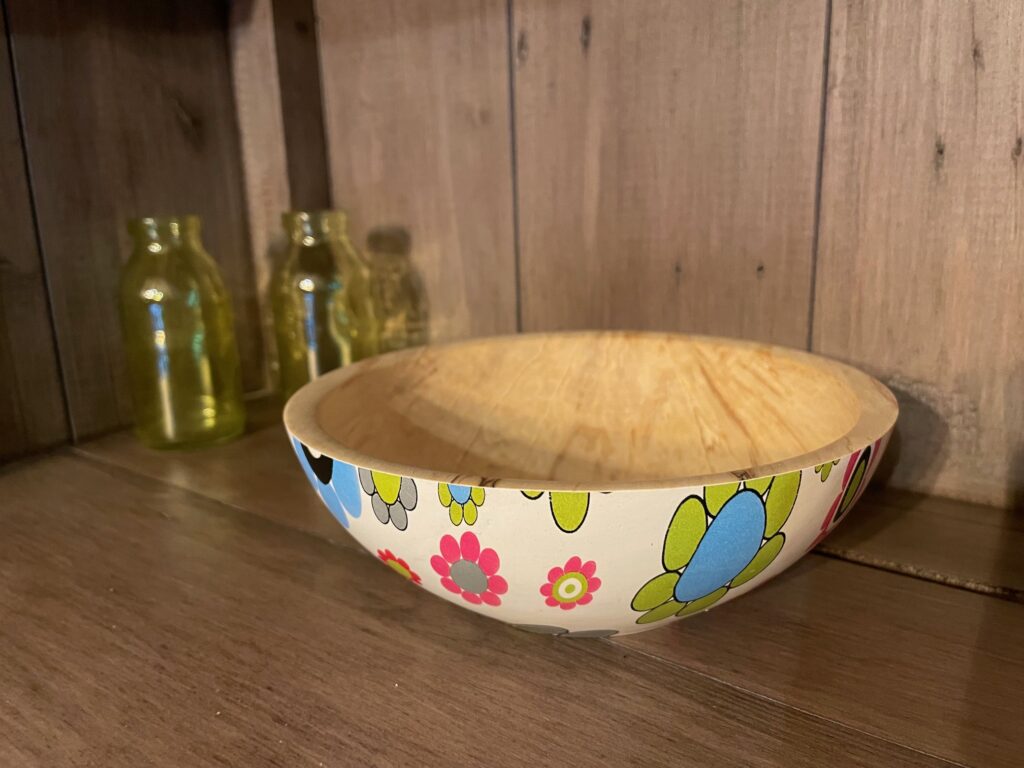
The last finish demonstrated for the evening was Hydro Dipping. This is a technique where a sheet of printed film is placed on warm water, sprayed with an activator to turn the film into ink and the turned piece is then dipped into the water transferring the print to the turned piece.
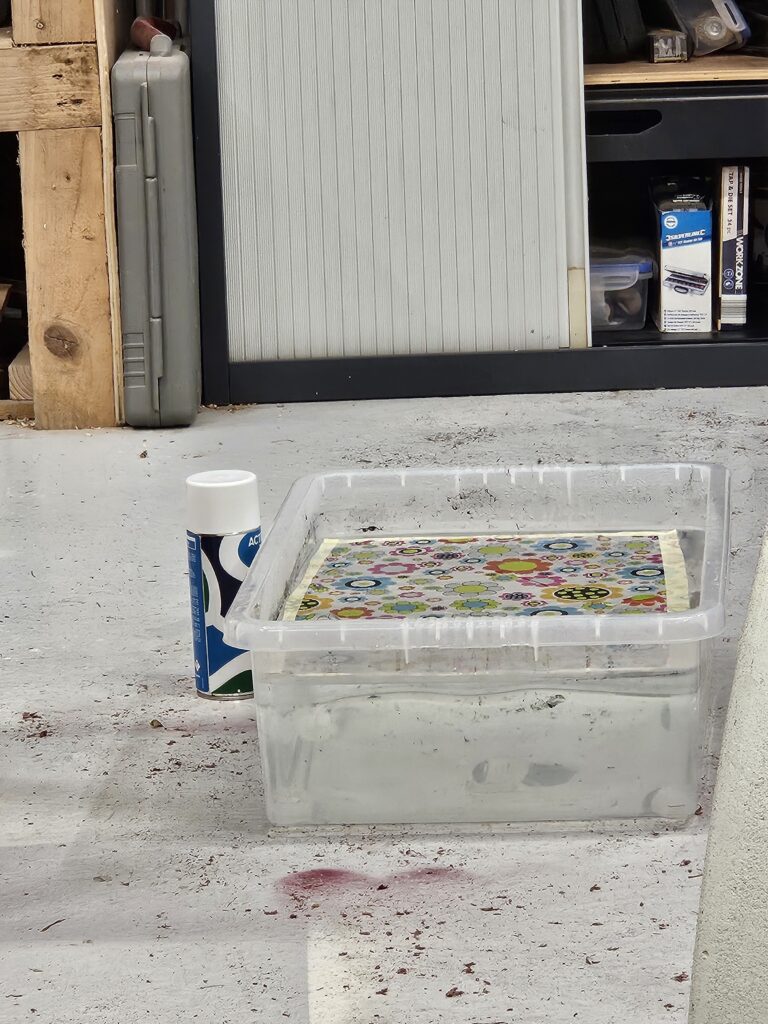

The film is taped with masking tape all around the four sides to stop the film from expanding once the activator is sprayed onto it. It is then placed in a container of water about 32Deg c. The film should stay on the water for about 60 sec before spraying. I had the turned piece sprayed with a coat of primer then two coats of gloss white paint. Leave roughly another 60 sec after spraying the activator before putting in the piece.
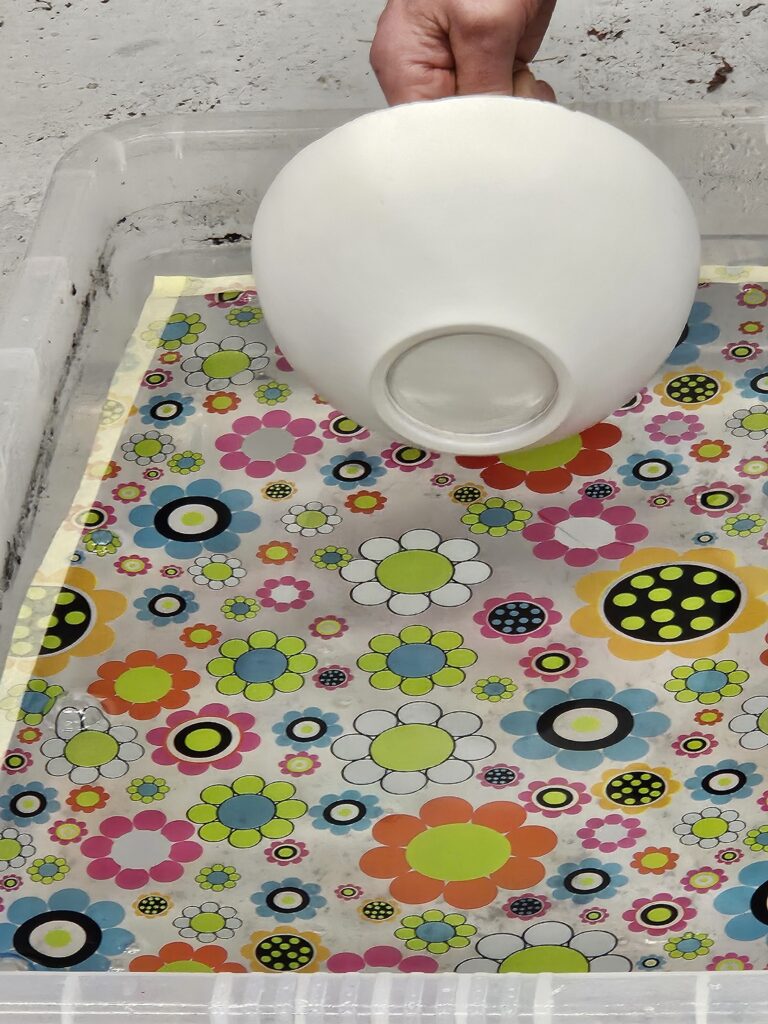
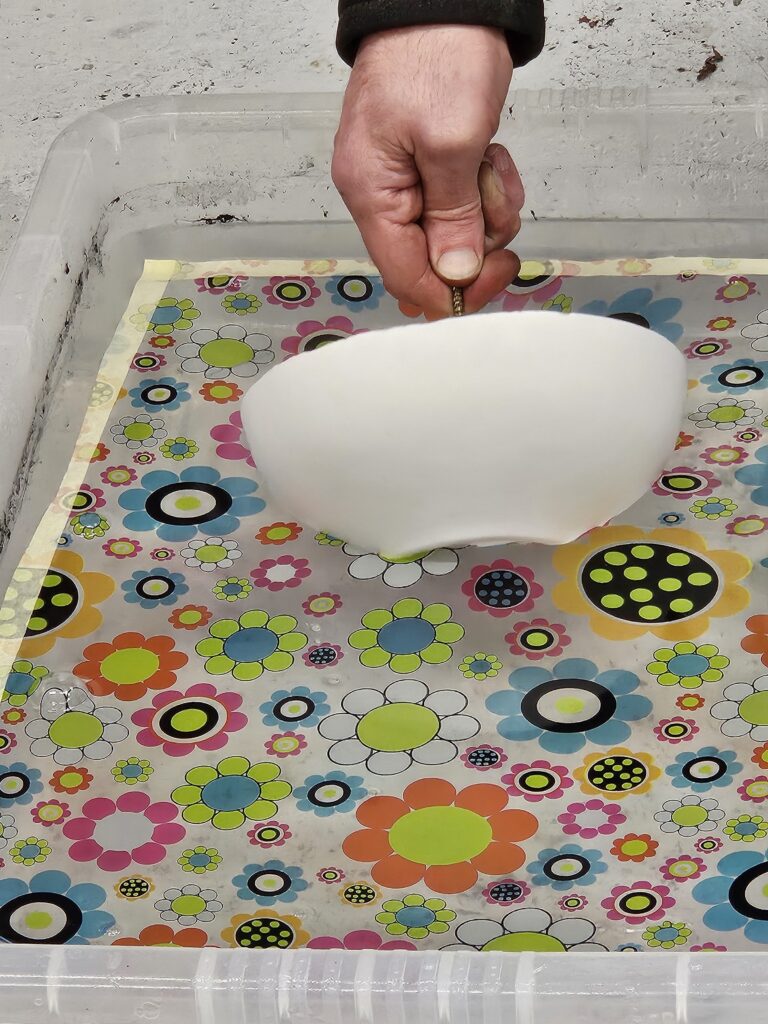
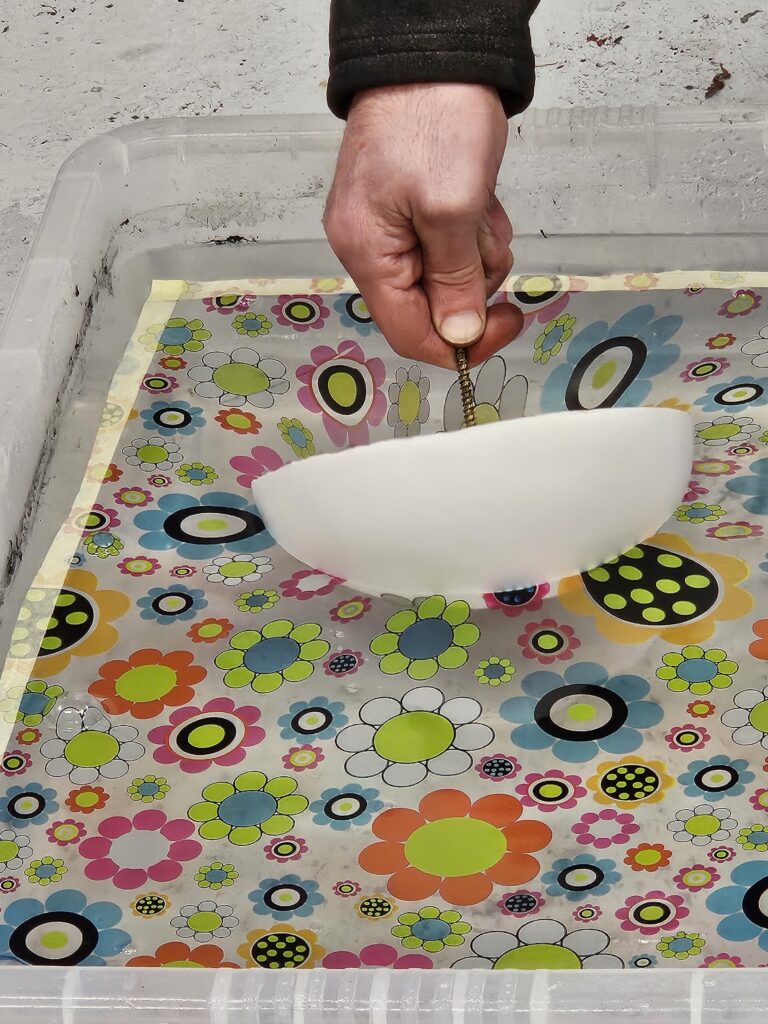
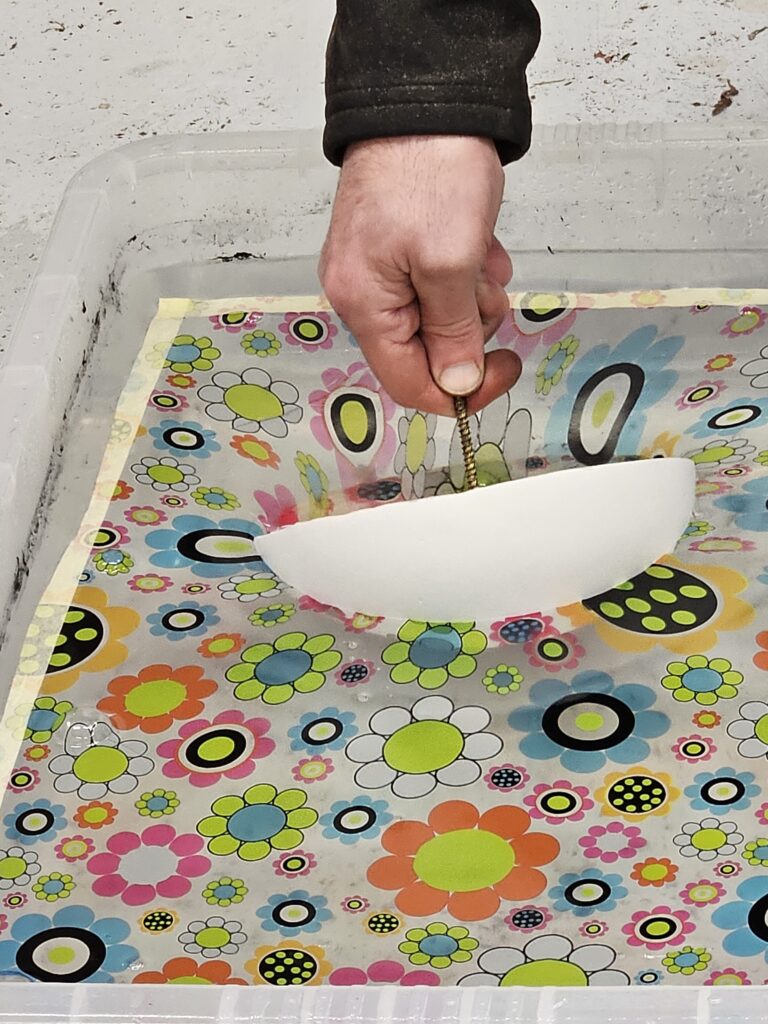
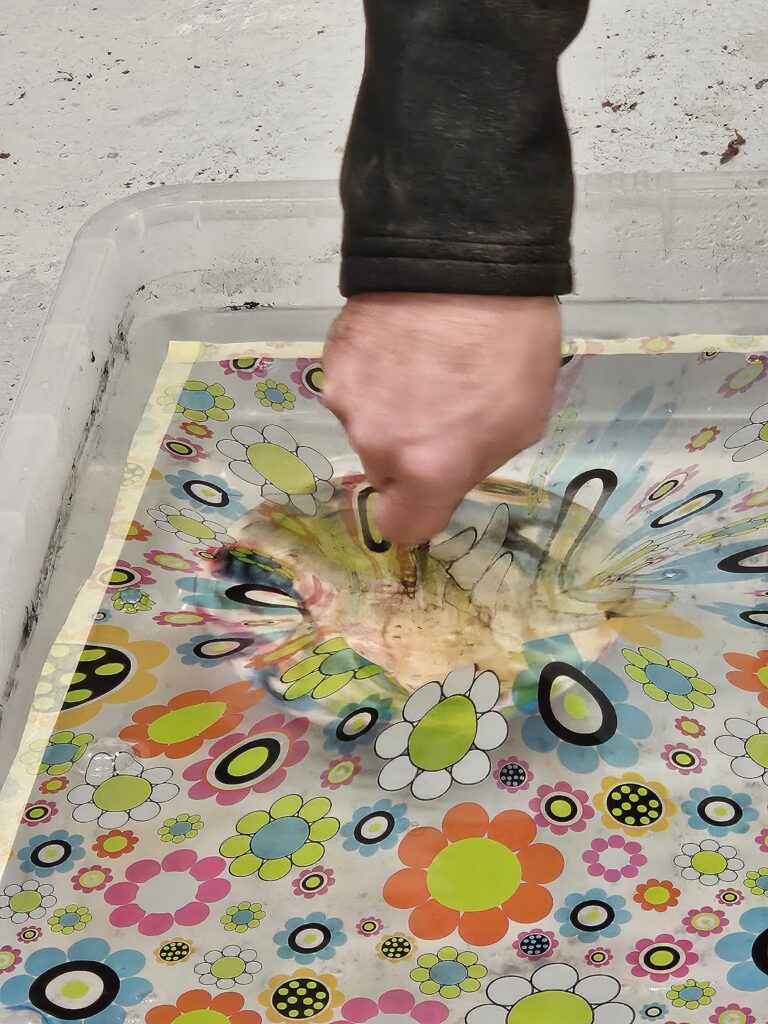
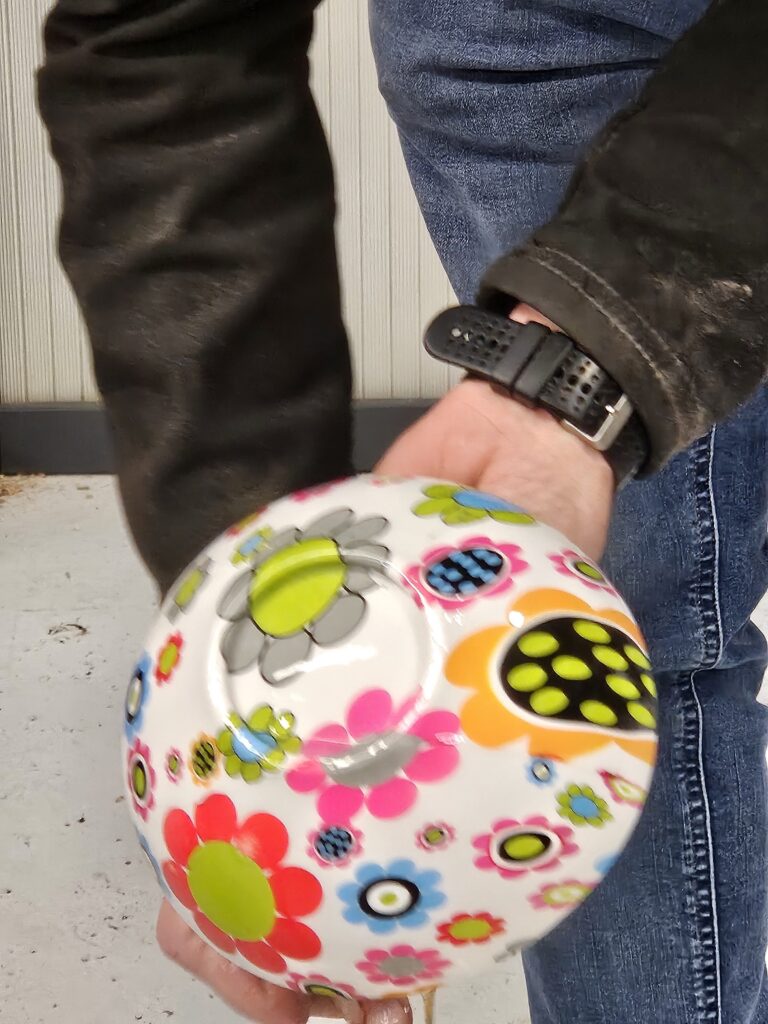
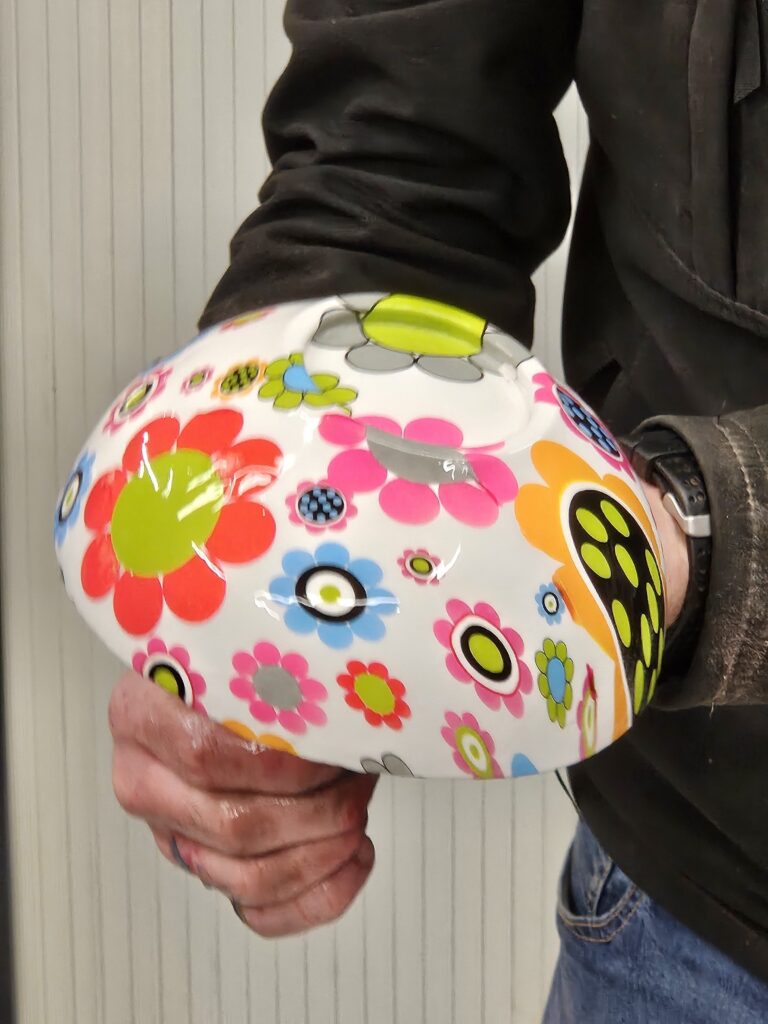
For an even finish, put the piece in at roughly 45deg rolling it forward as you go. Once the piece is fully submerged in the water. Move your hands around a bit to clear the rest of the film and remove the piece. The piece is then rinsed well under a running tap. Once dry, I spayed the piece with two coats of satin lacquer to protect the finish.
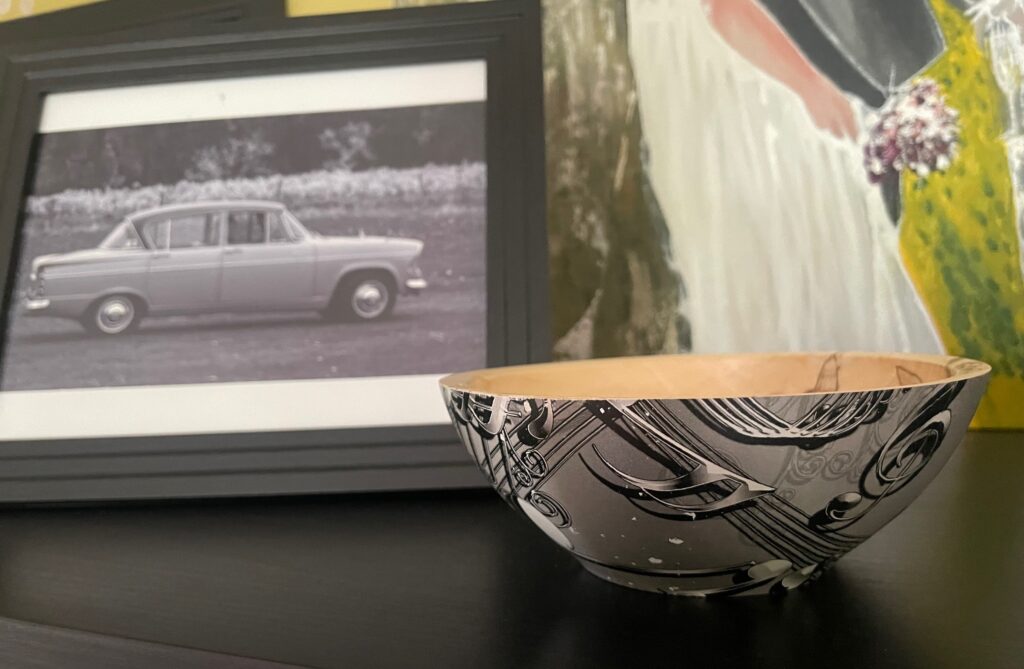
This is another small bowl that I made using a music themed film.
Leave a Reply